ⓘ this post is sponsored by Pantene to celebrate the Cheat Day Dry Shampoo Foam from their Waterless Collection. All opinions are my own!
One of the best things I’ve ever done for my hair was to train it to last longer between wash days. Although it took a few months to get into the routine, I went from having to wash my oily and flaky hair every second day, to being able to easily go four days between washes, and up to six if I’m willing to stretch it. Washing my hair less resulted in less breakage, as I wasn’t using as many drying products or manipulating my hair while it was wet. Nowadays, my natural scalp oils are balanced, and I no longer experience dryness, flaking or oiliness, because my scalp is healthy and no longer constantly being dried out.
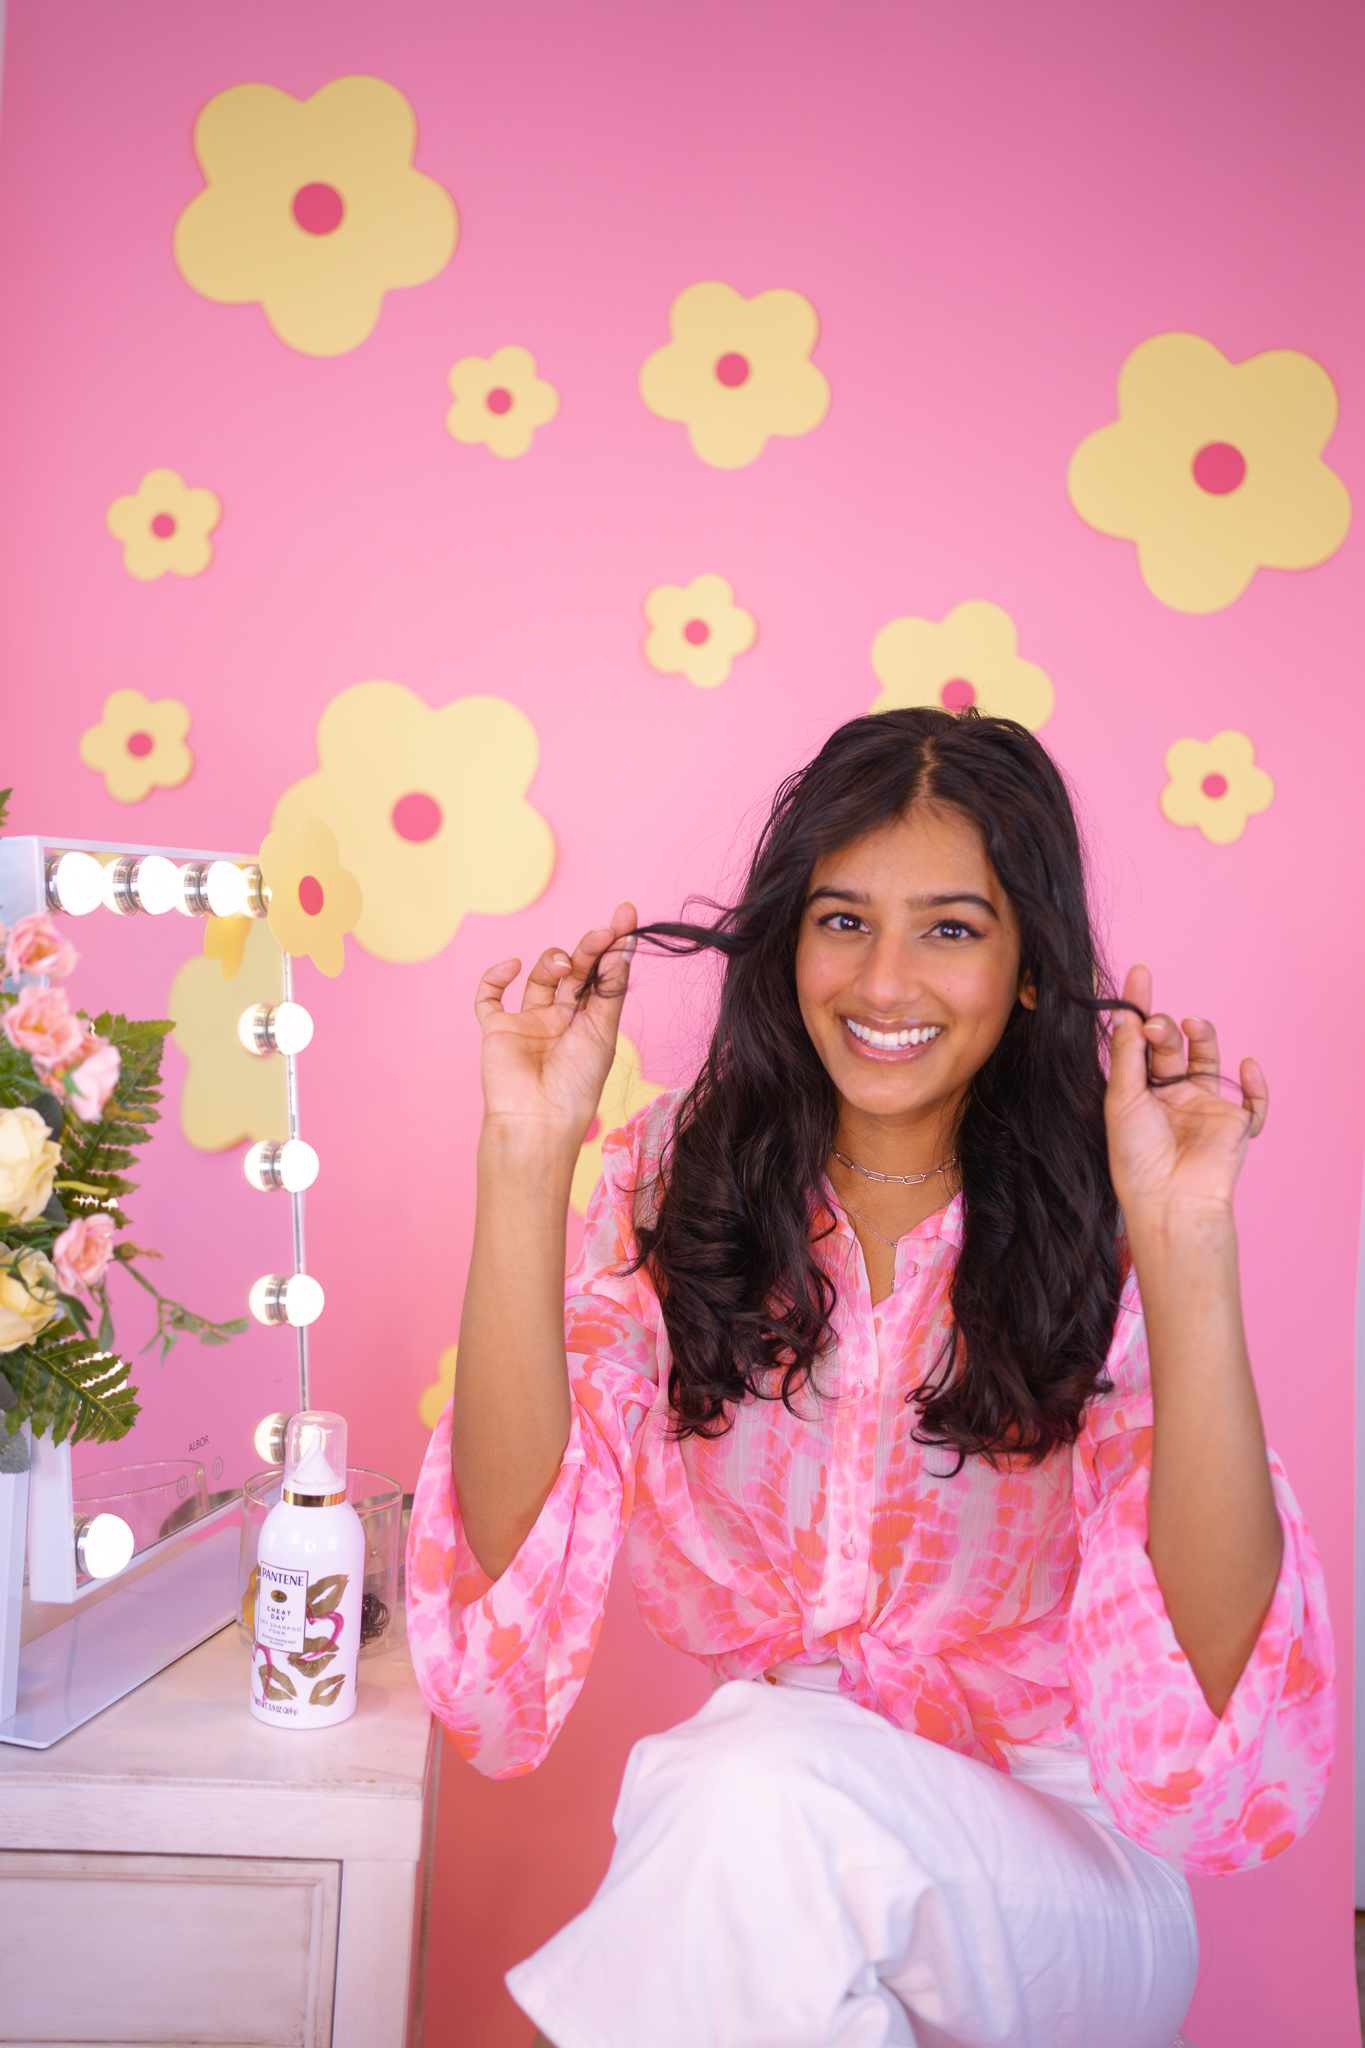
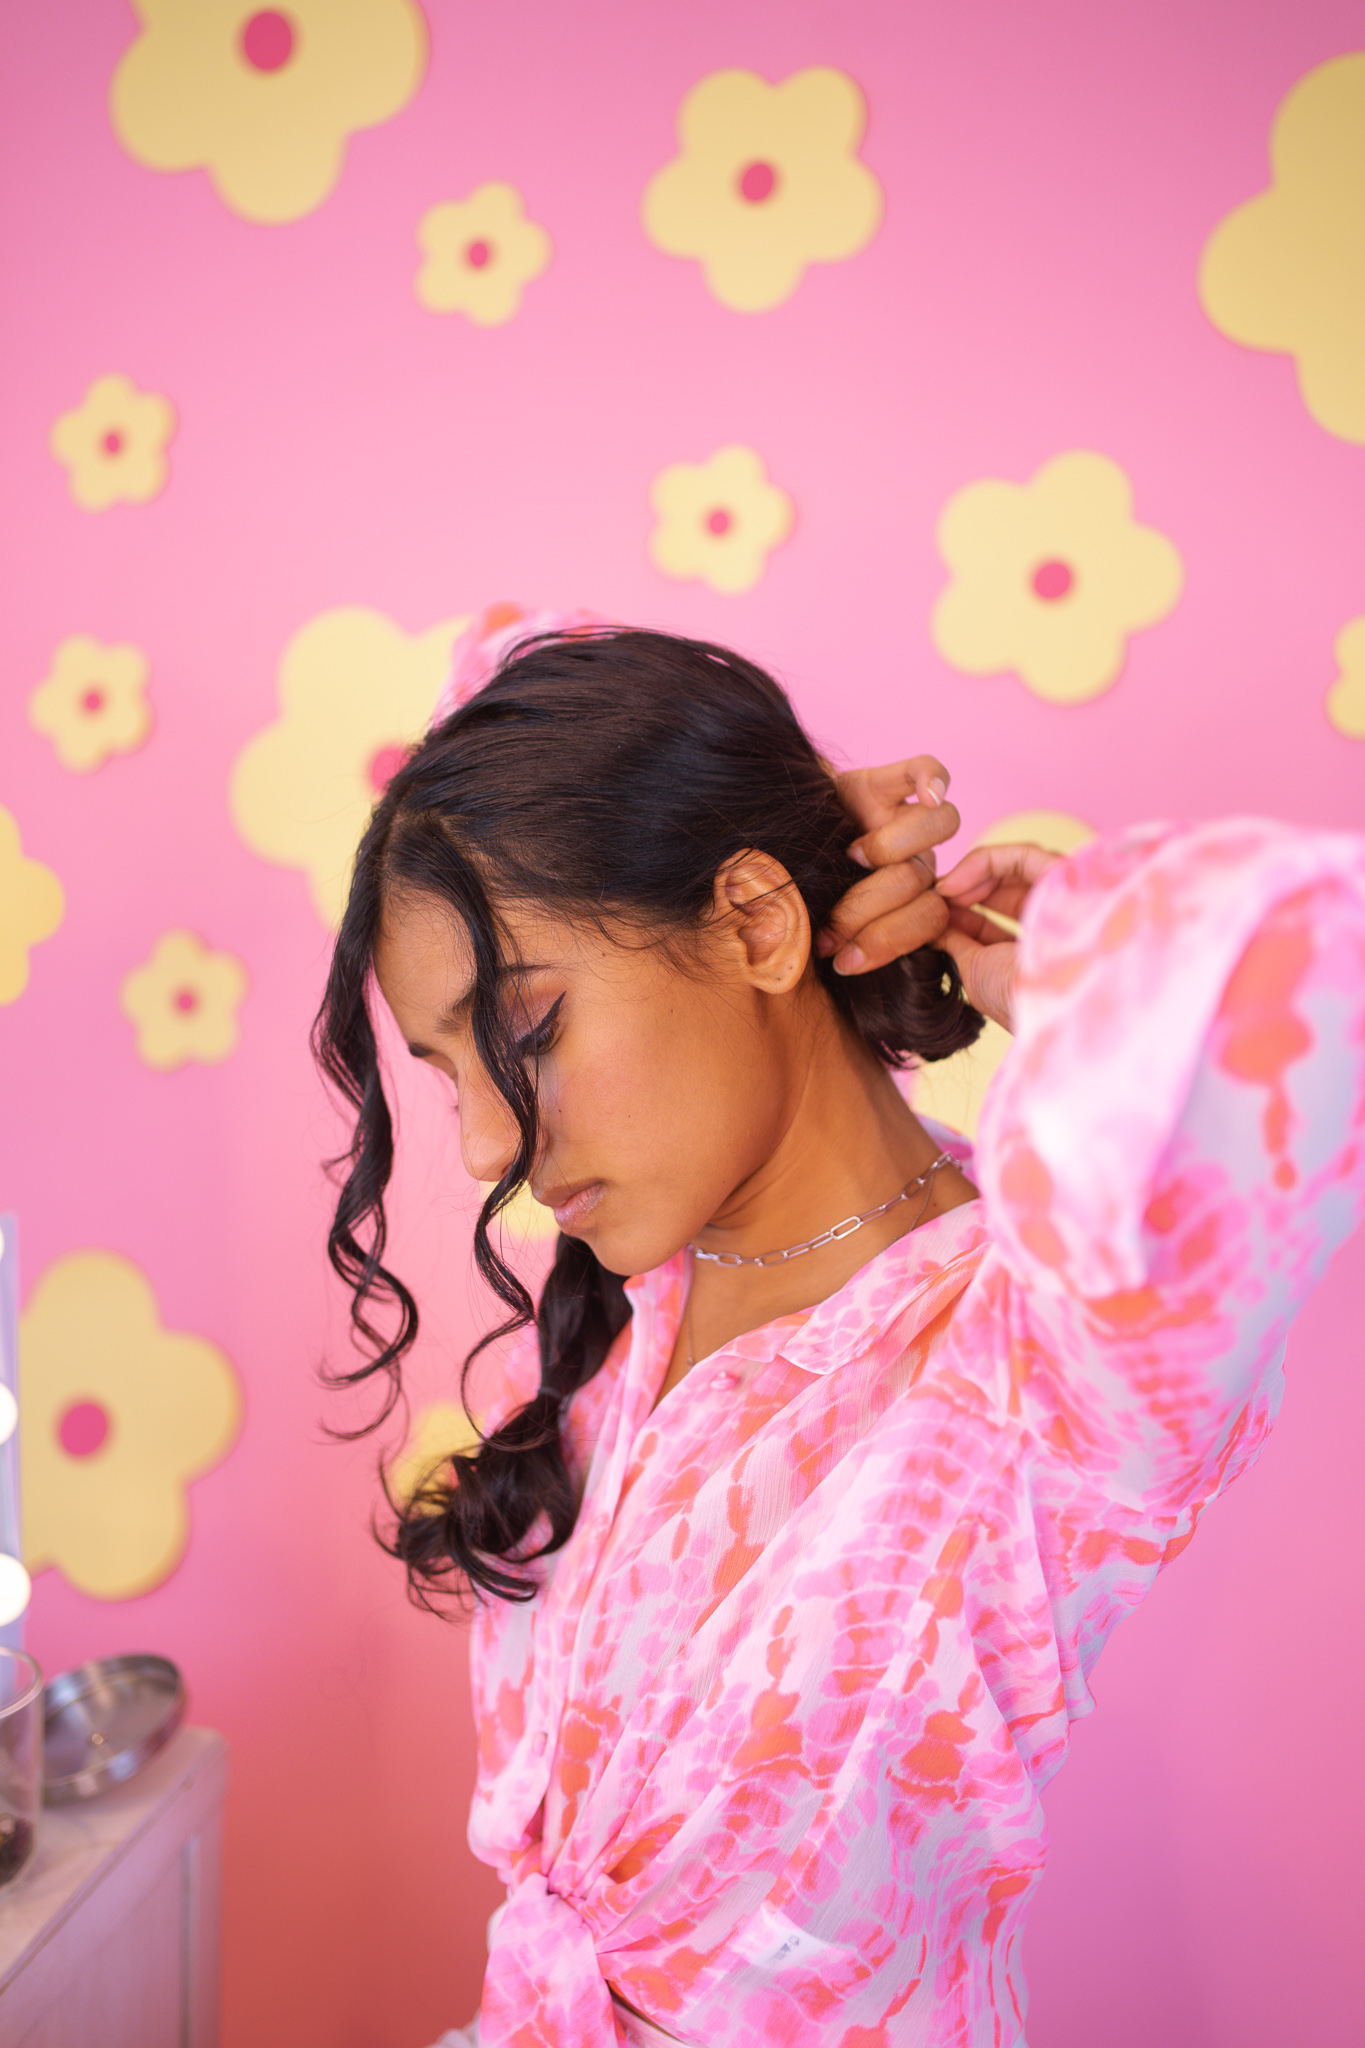
However, I – like 71% of women, according to a recent study Pantene shared with me, have a hard time getting my hair to look great on my non-wash days. Especially with my curls, they start to loosen up into bigger waves by day three and show a little more frizz. In this blog post, I’m going to show you three ways I like to wear my curls on day three, or beyond. This is what I do to make a good wash day last longer and ultimately, have more great hair days. I’ll start by showing you how I prep my hair and then go step-by-step for each hairstyle.
Prep
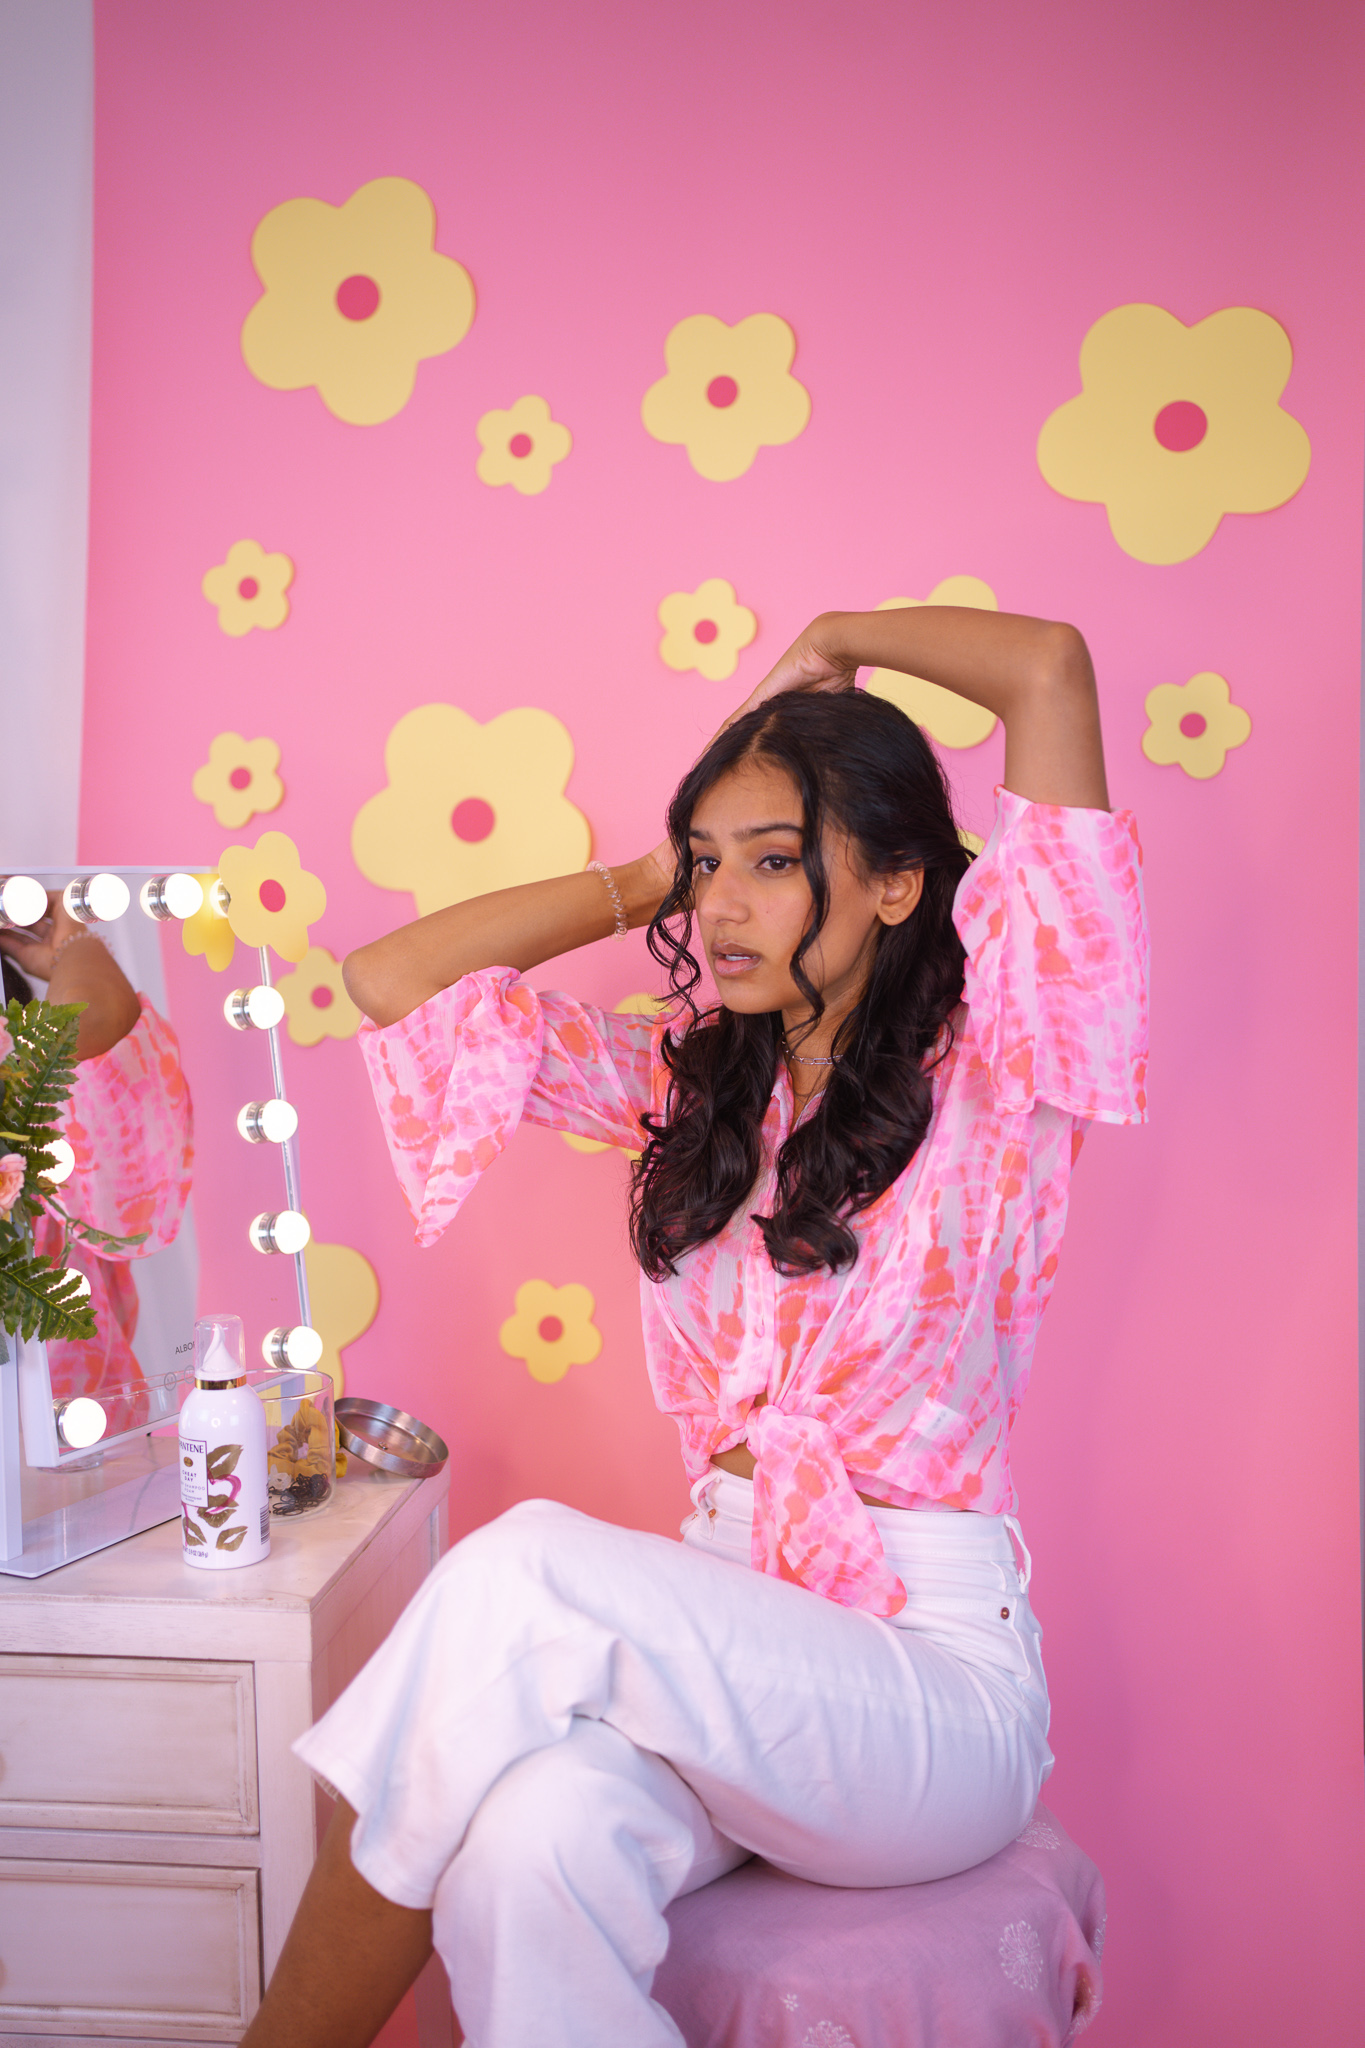
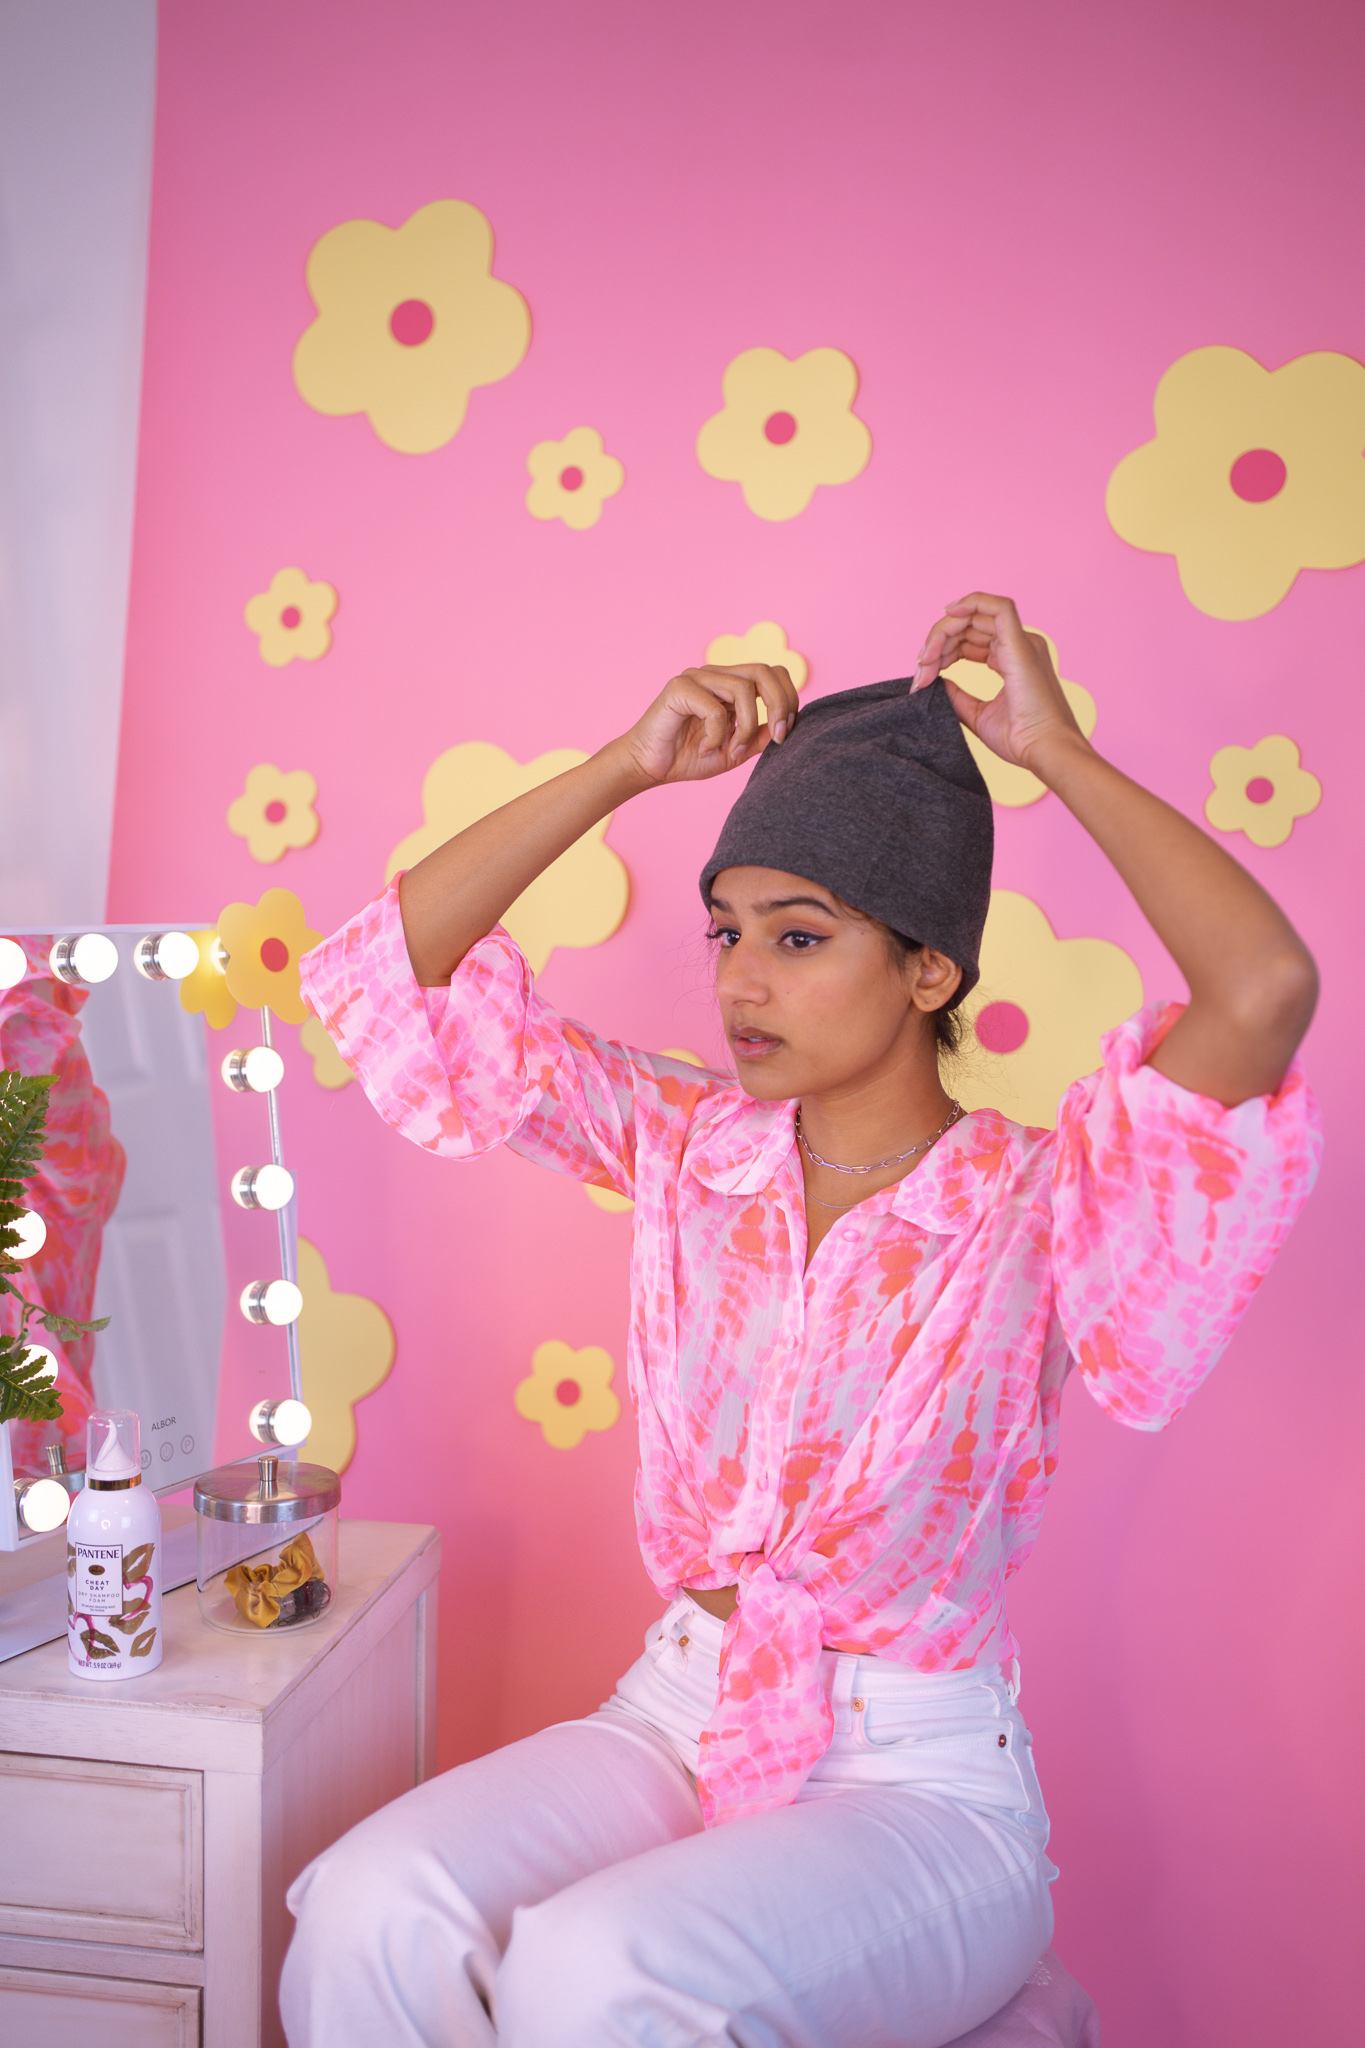
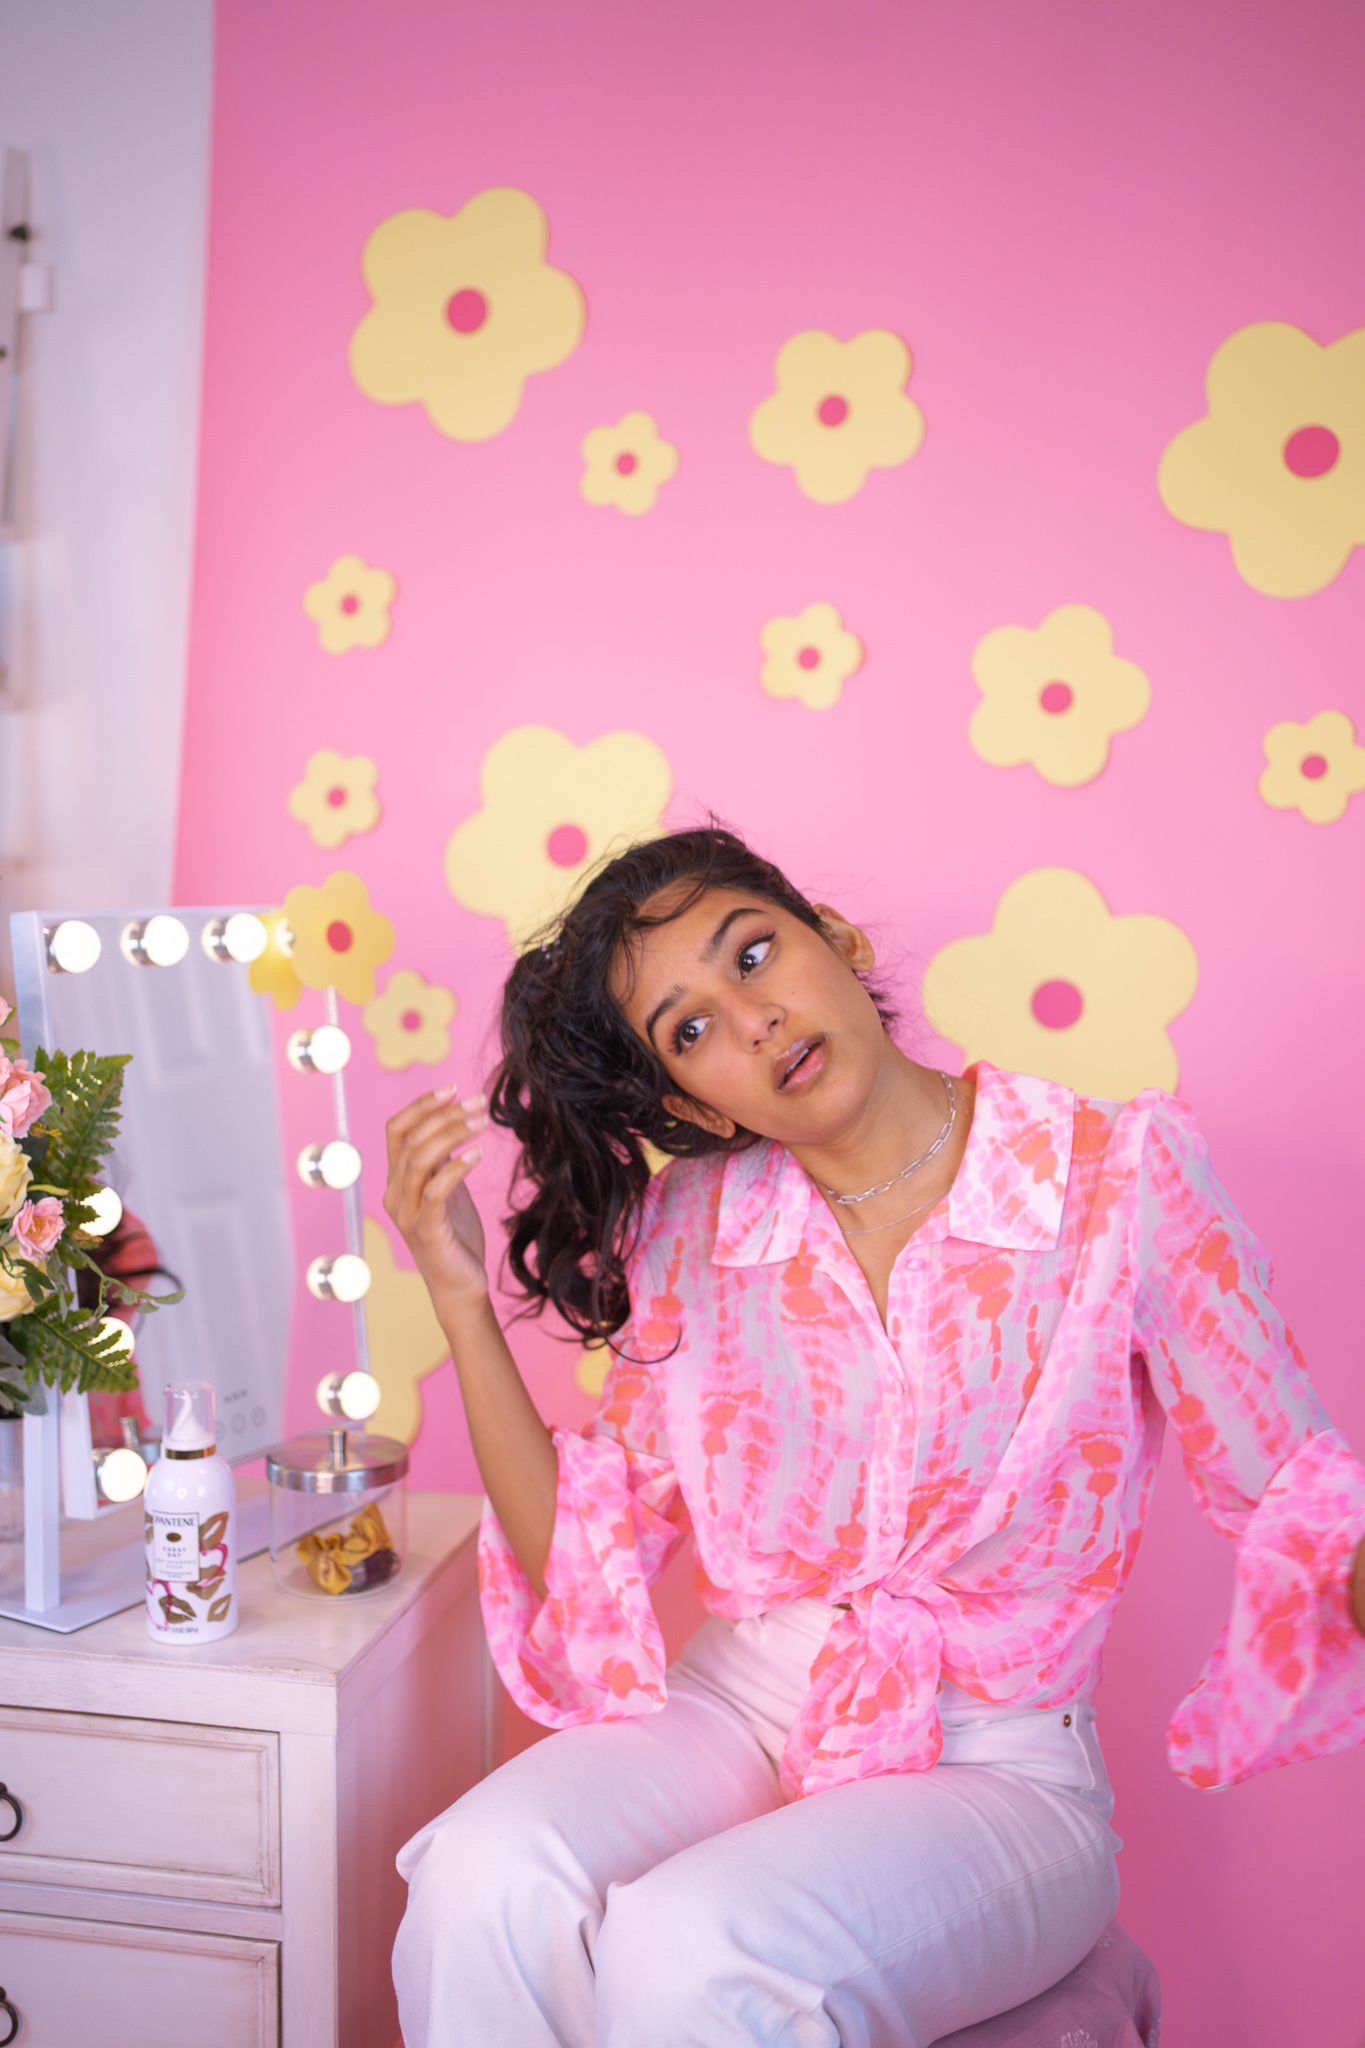
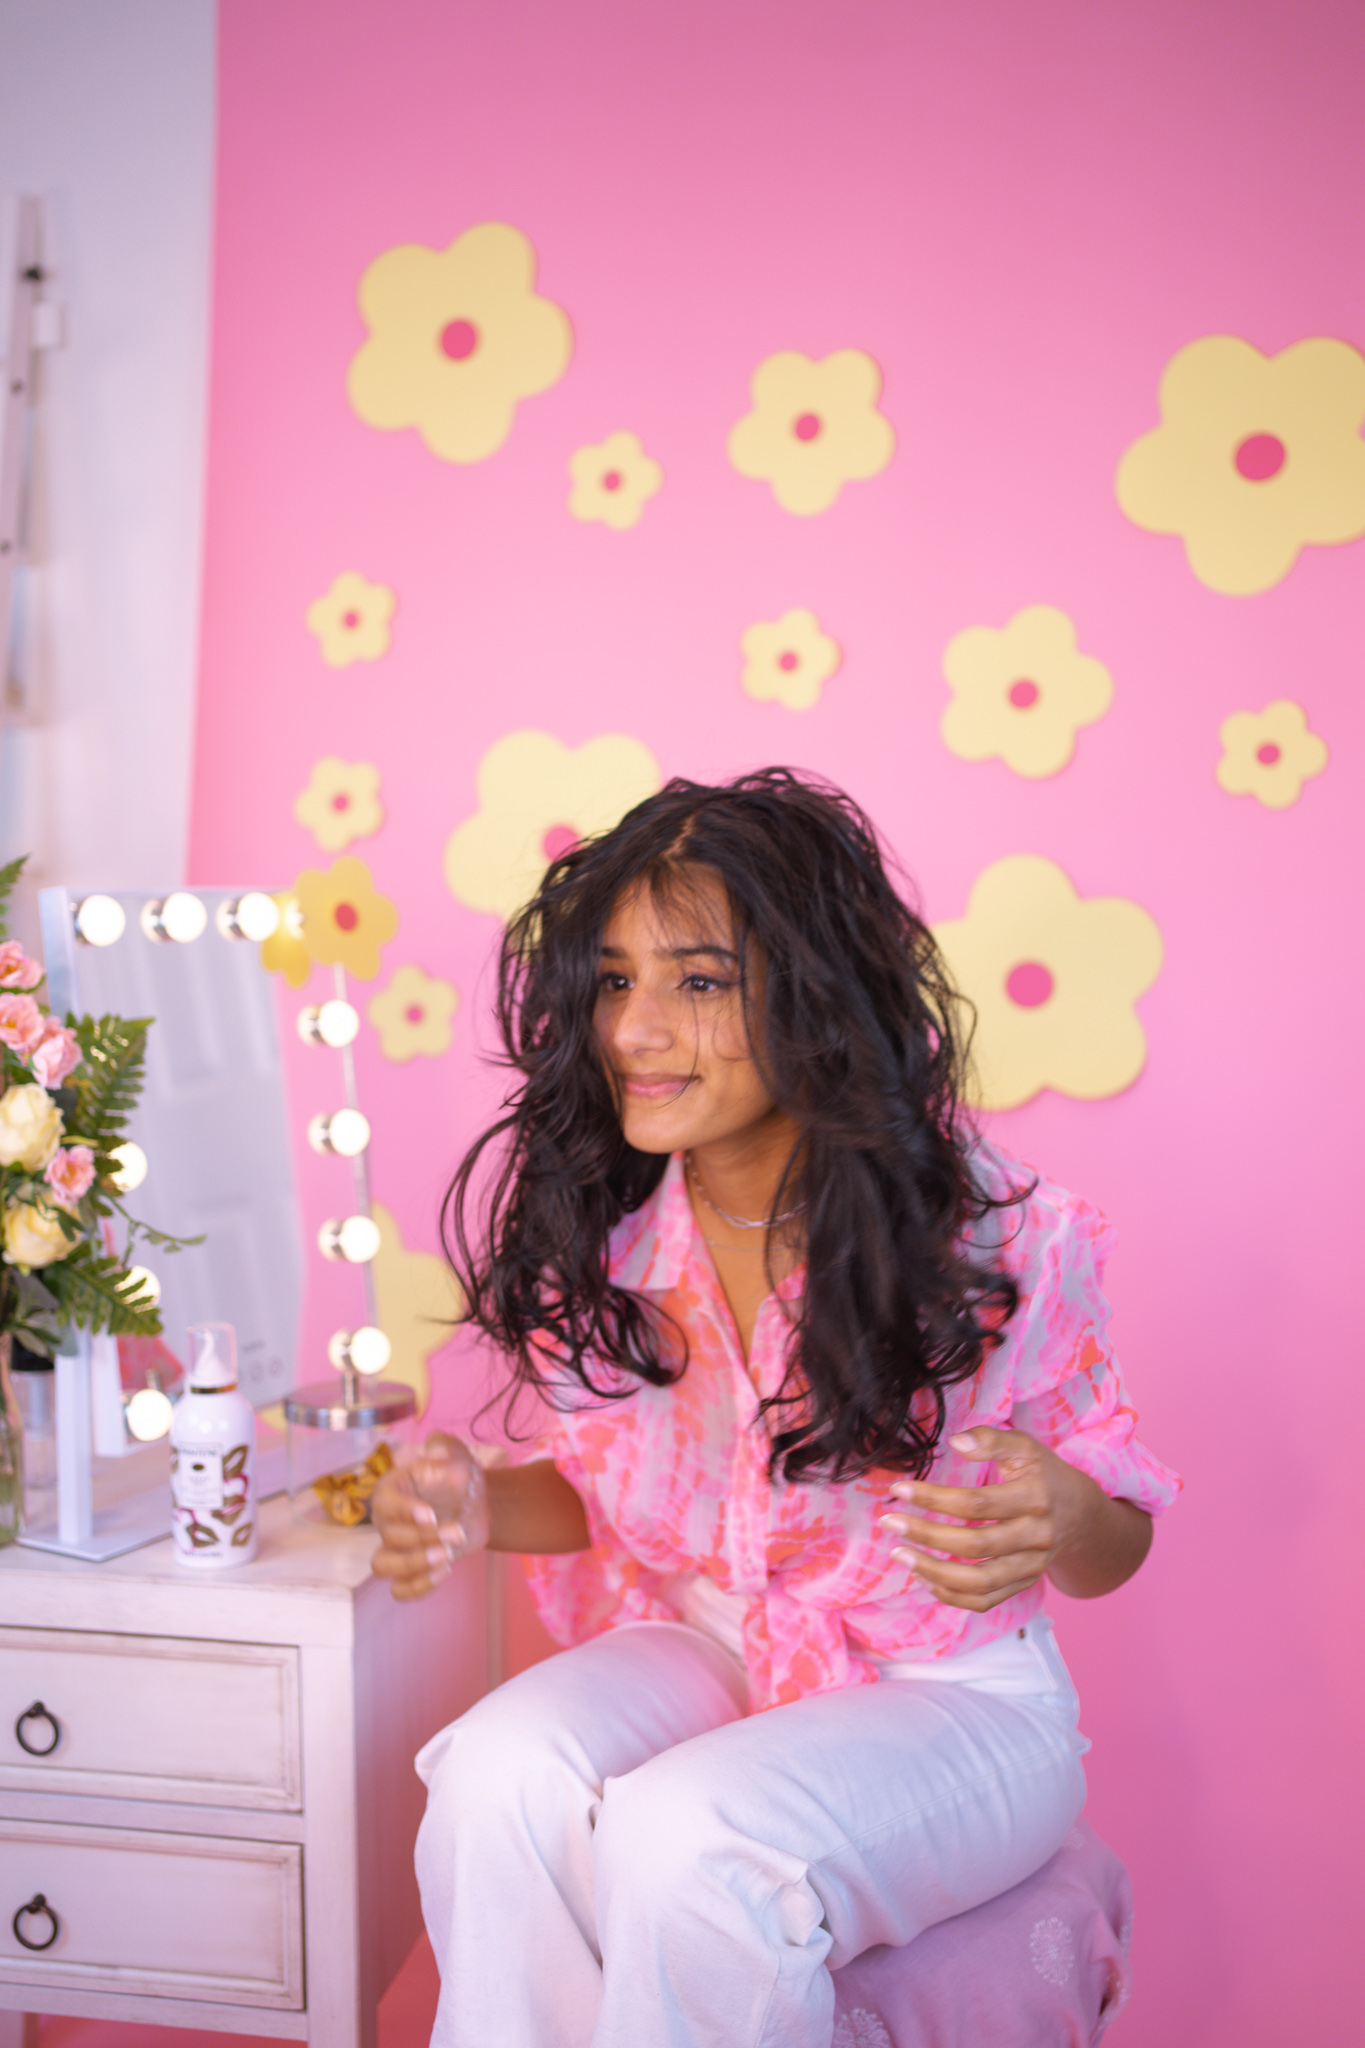
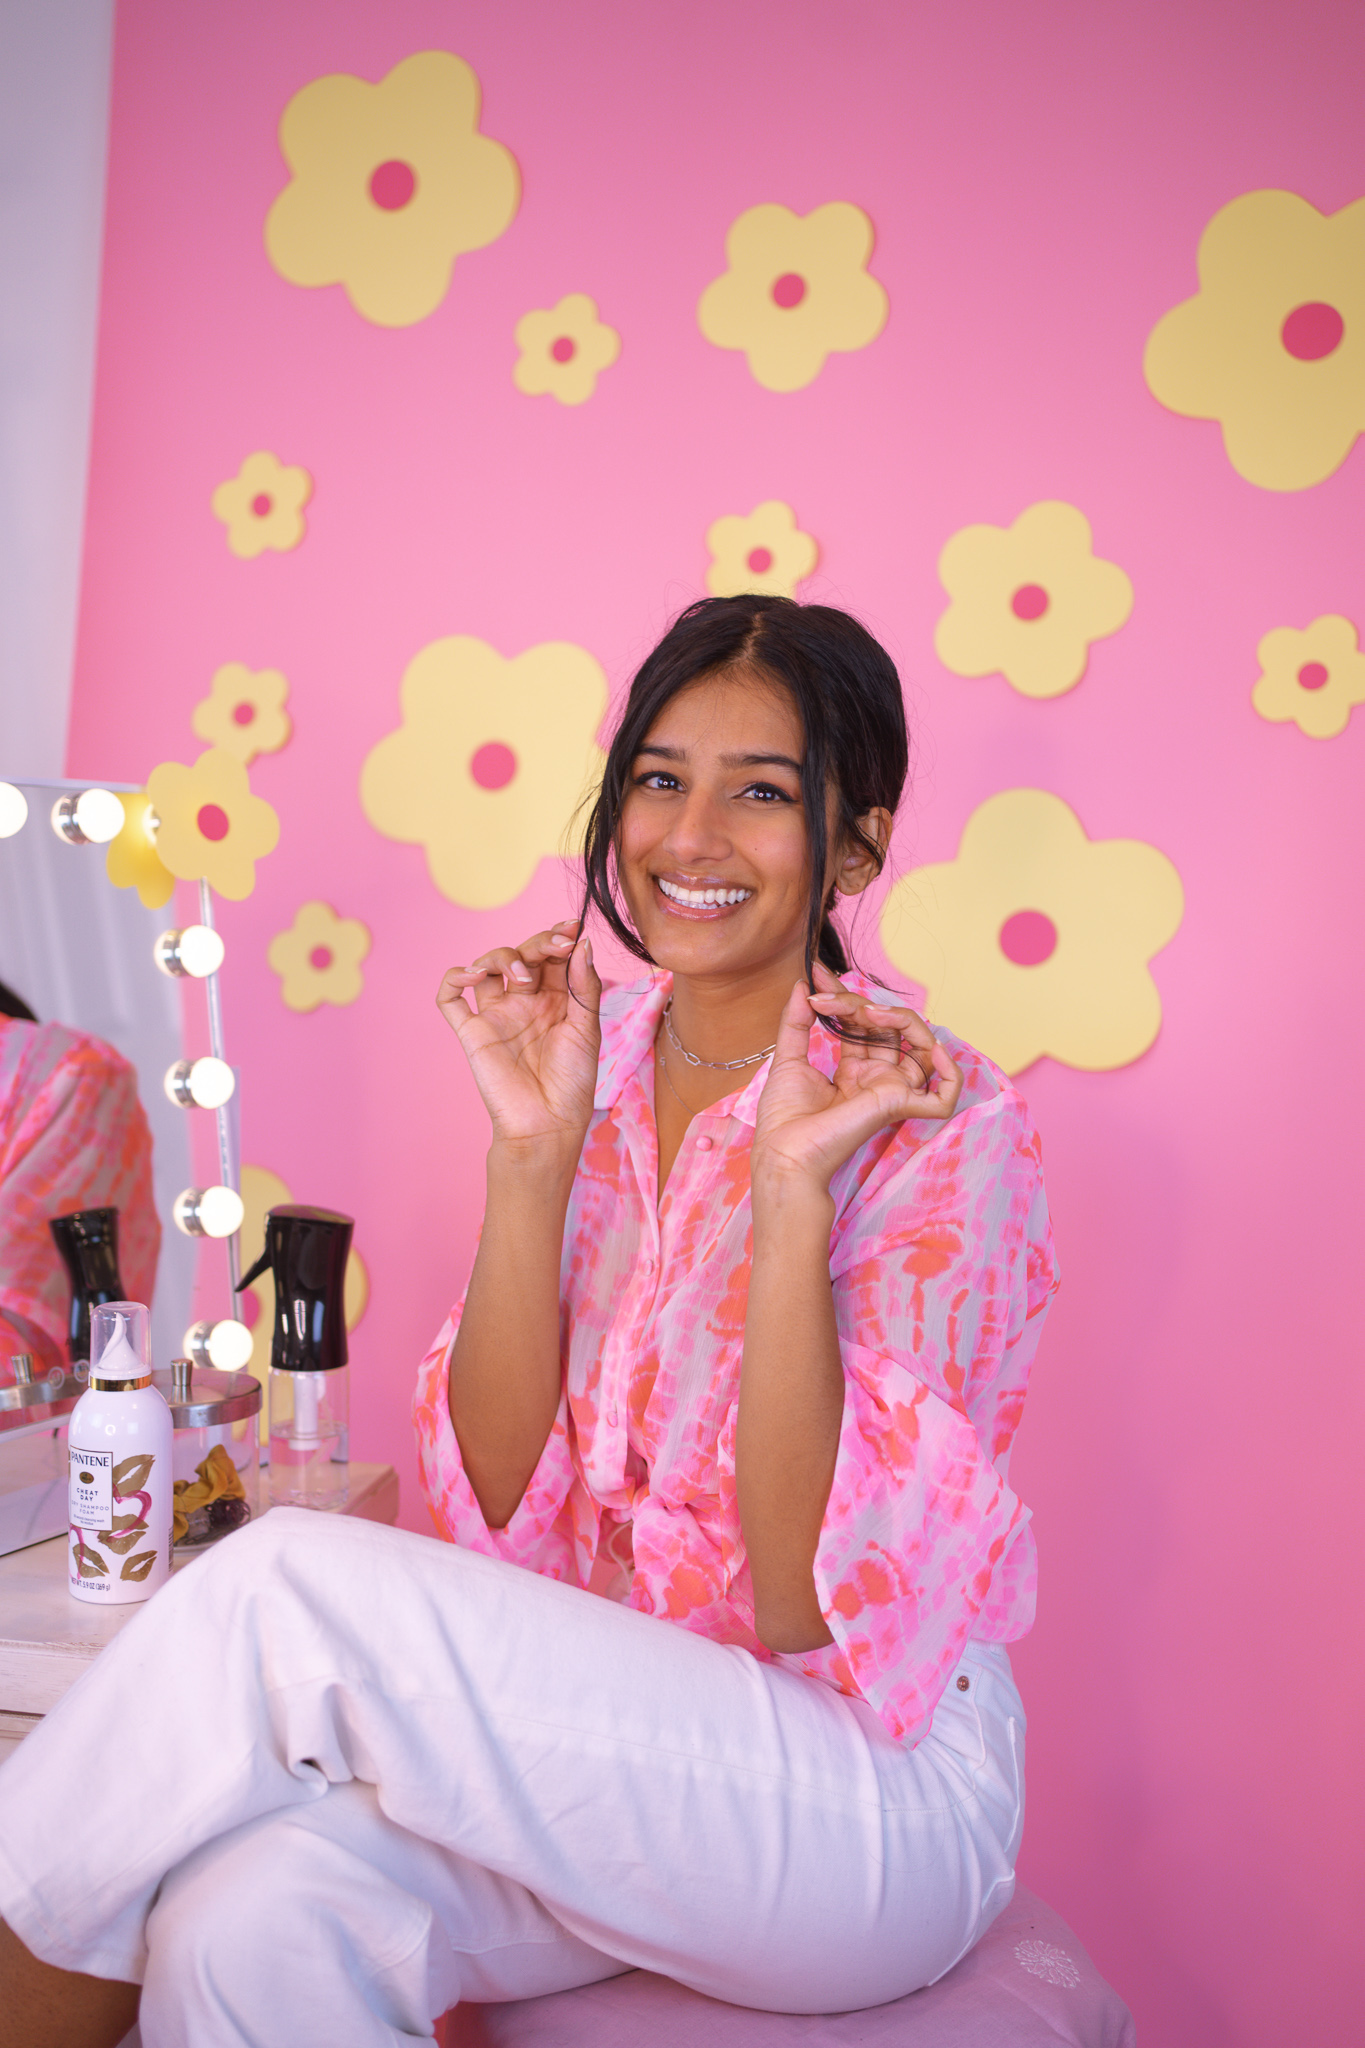
The first thing I do when I get up and start to get ready is to let my hair down from my sleep cap and bun. It usually looks a little all over the place when I first take it out, but after a couple minutes, my hair settles a bit and it starts taking on its usual shape.
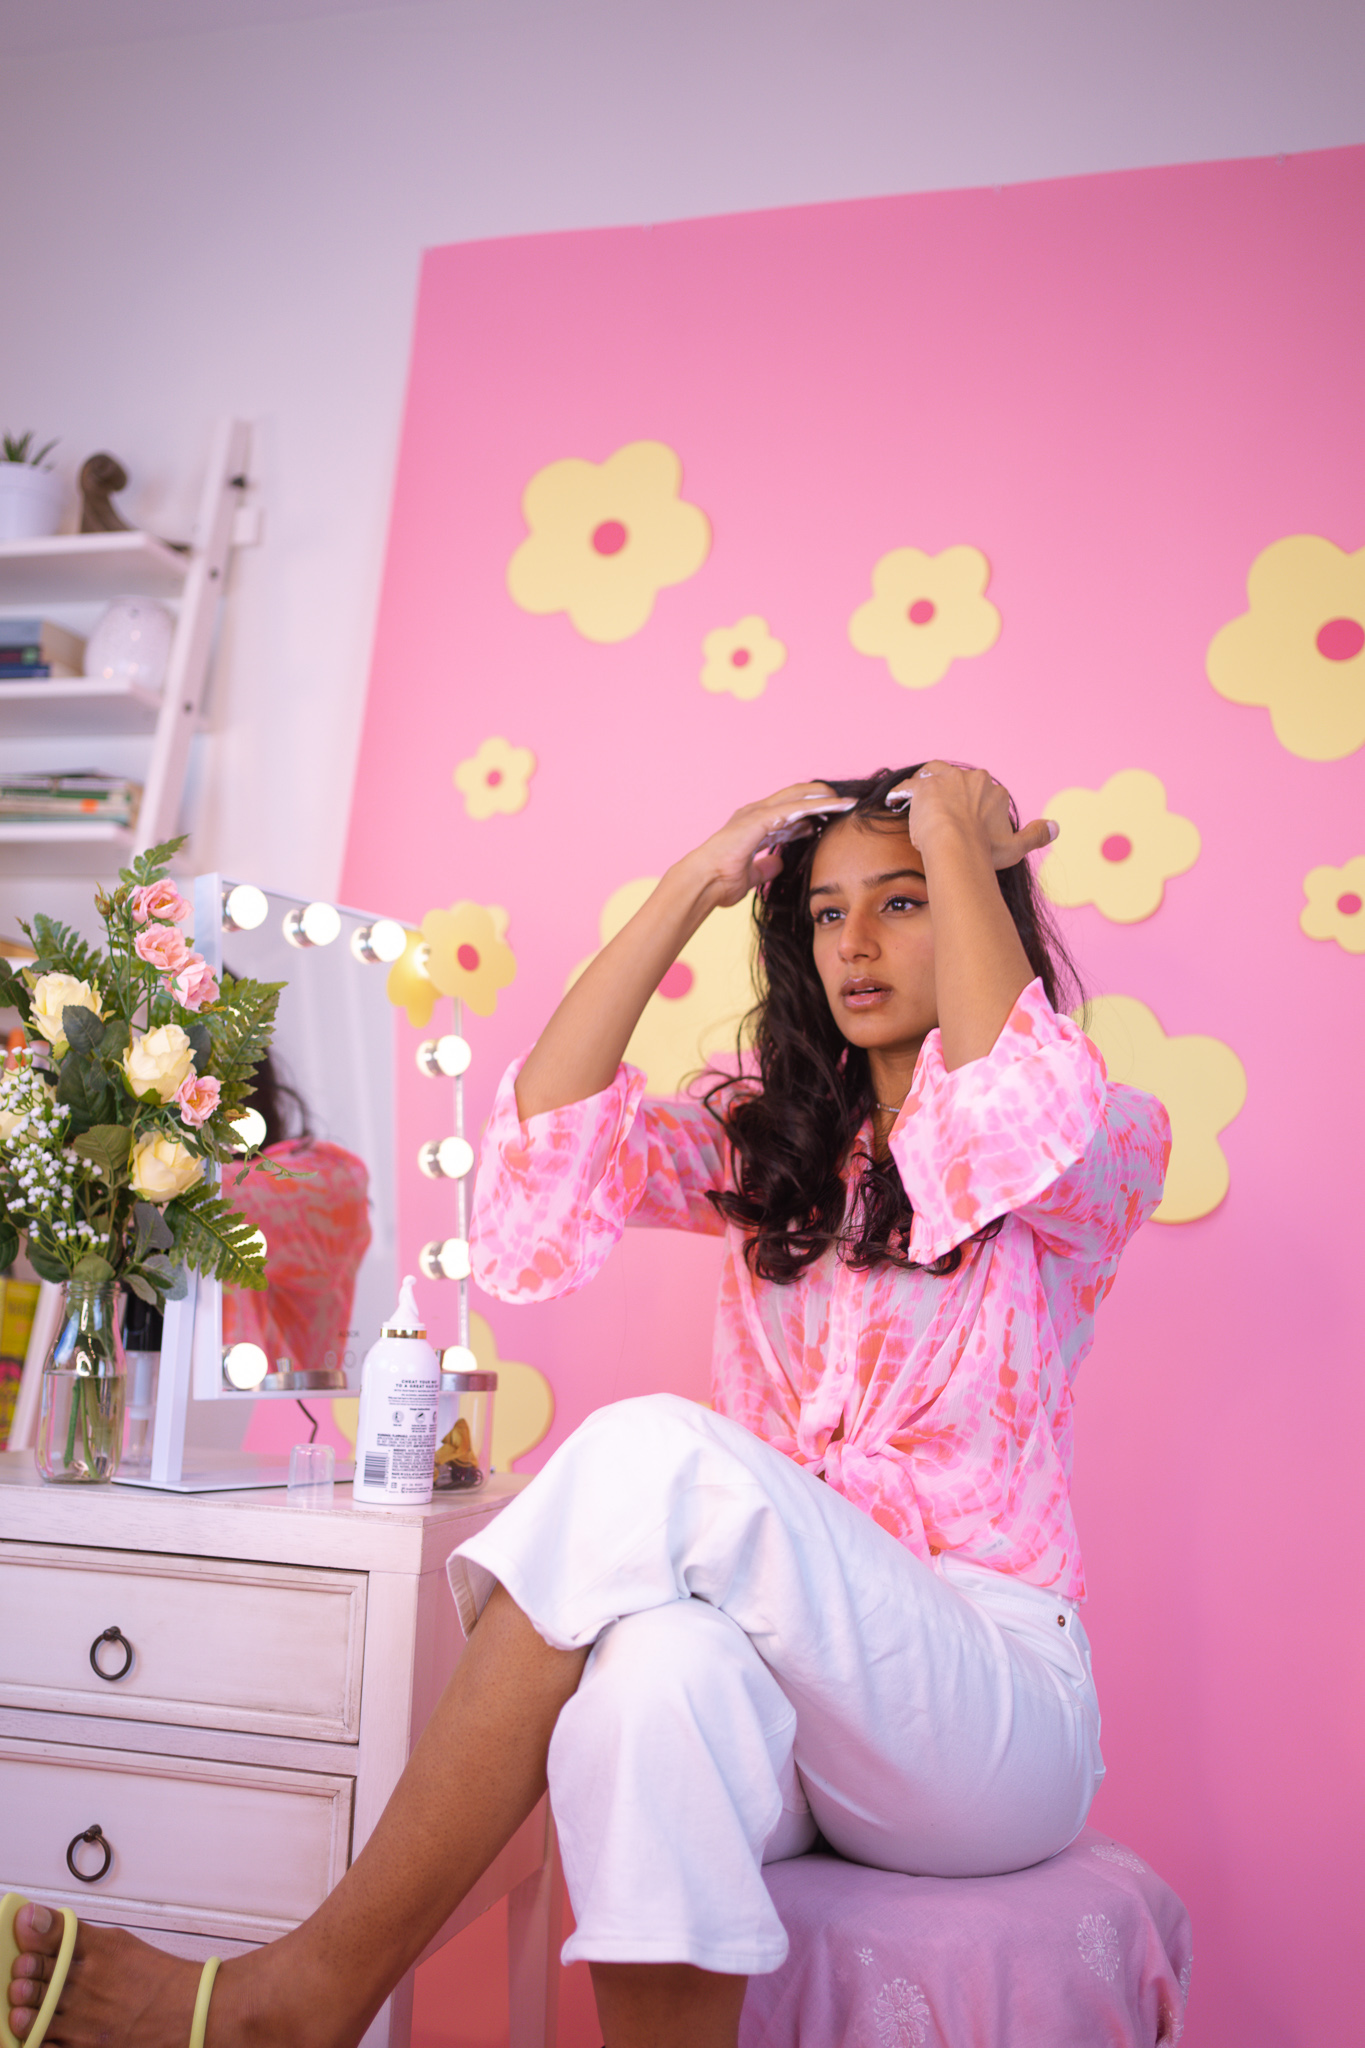
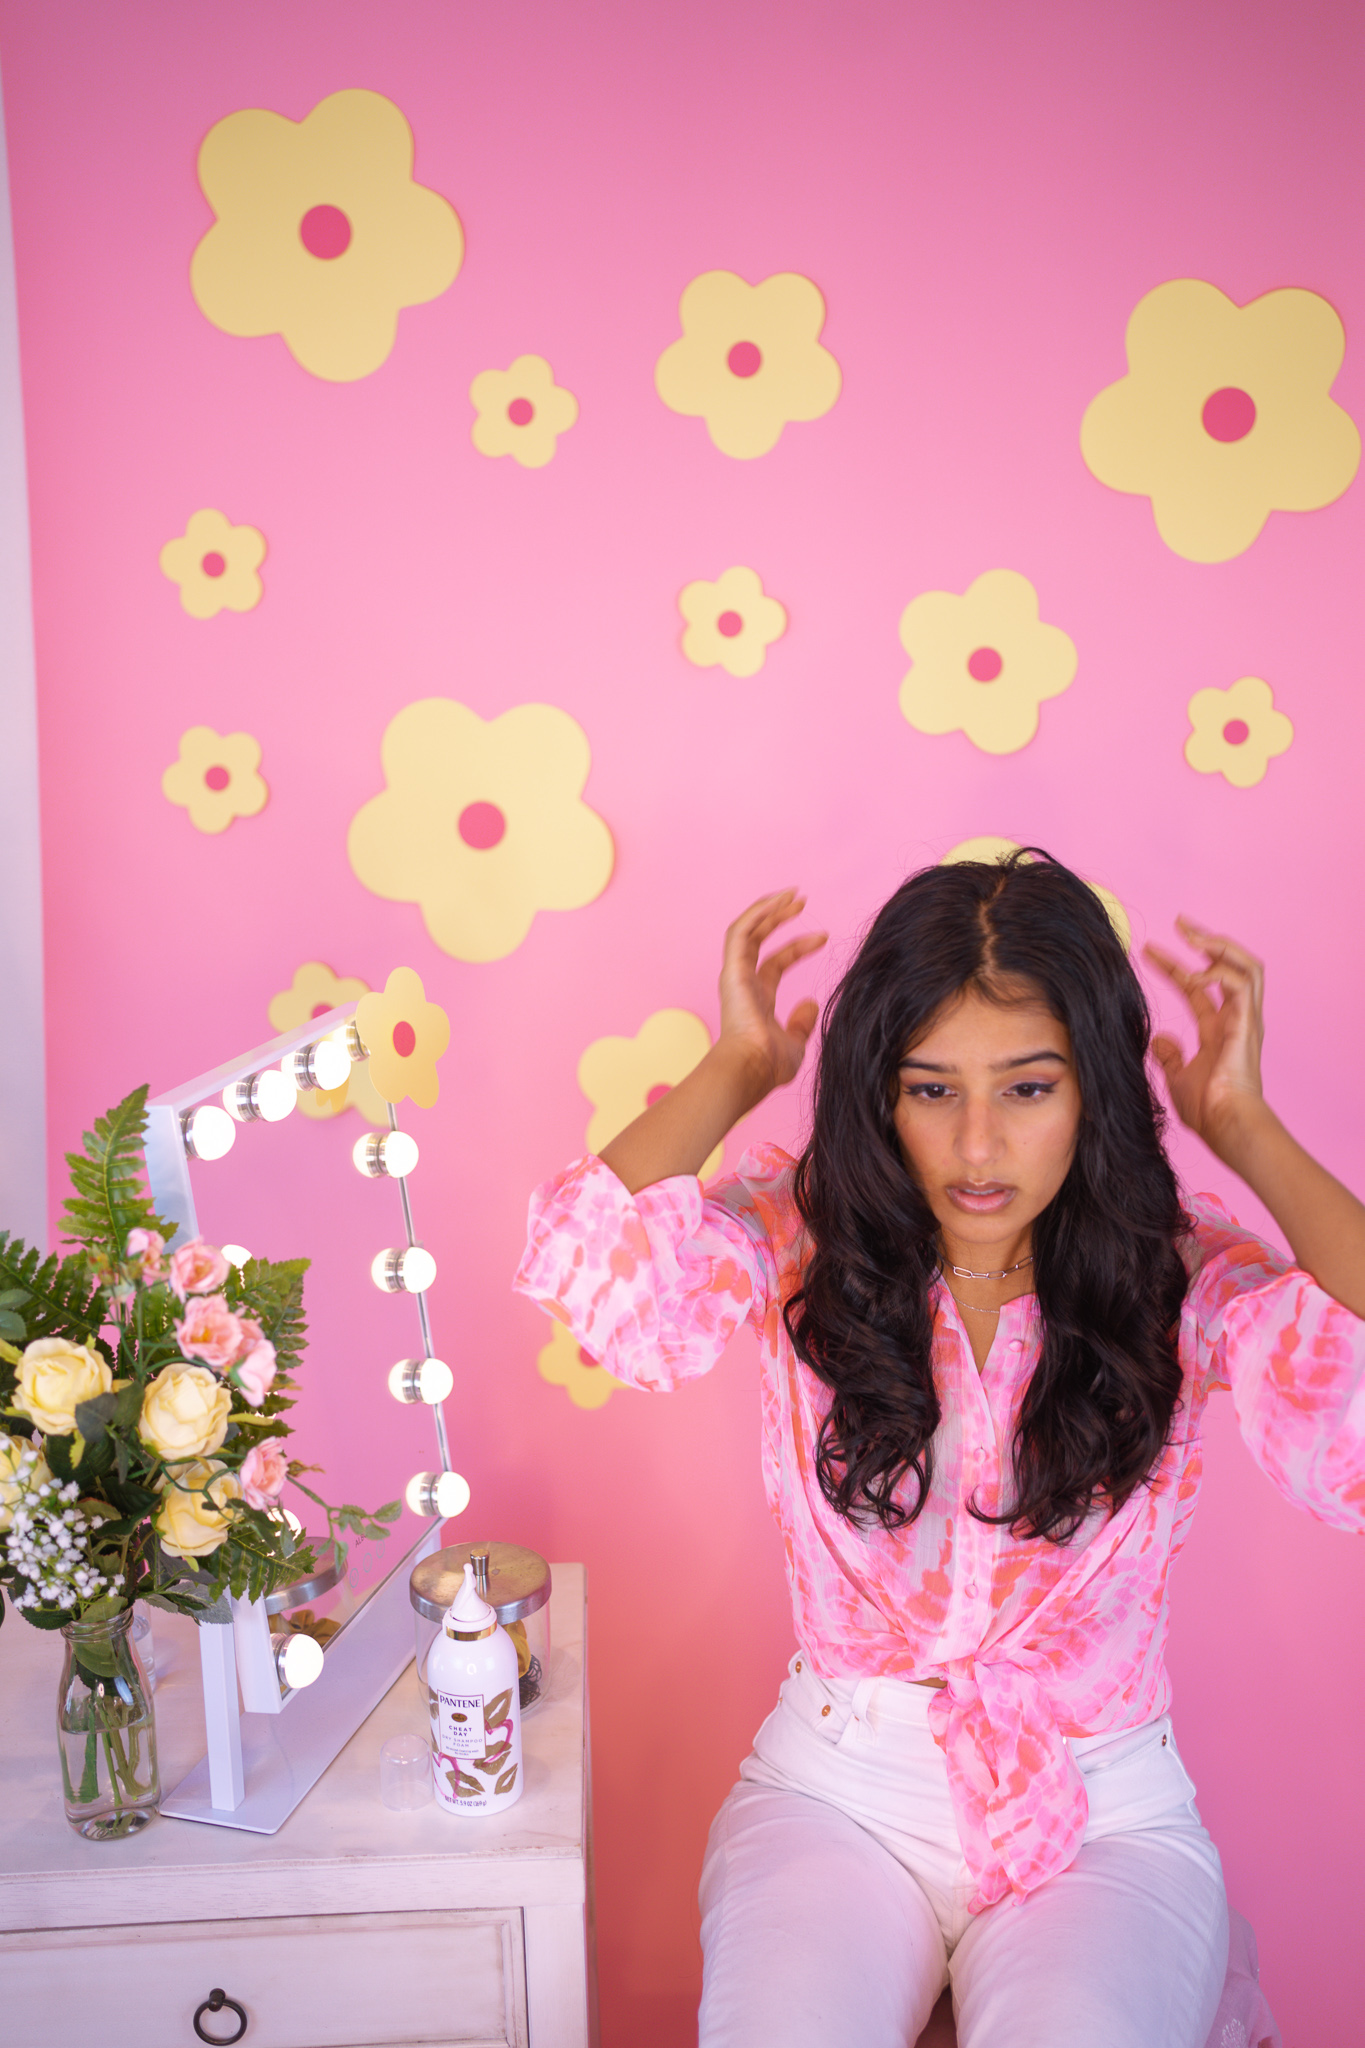
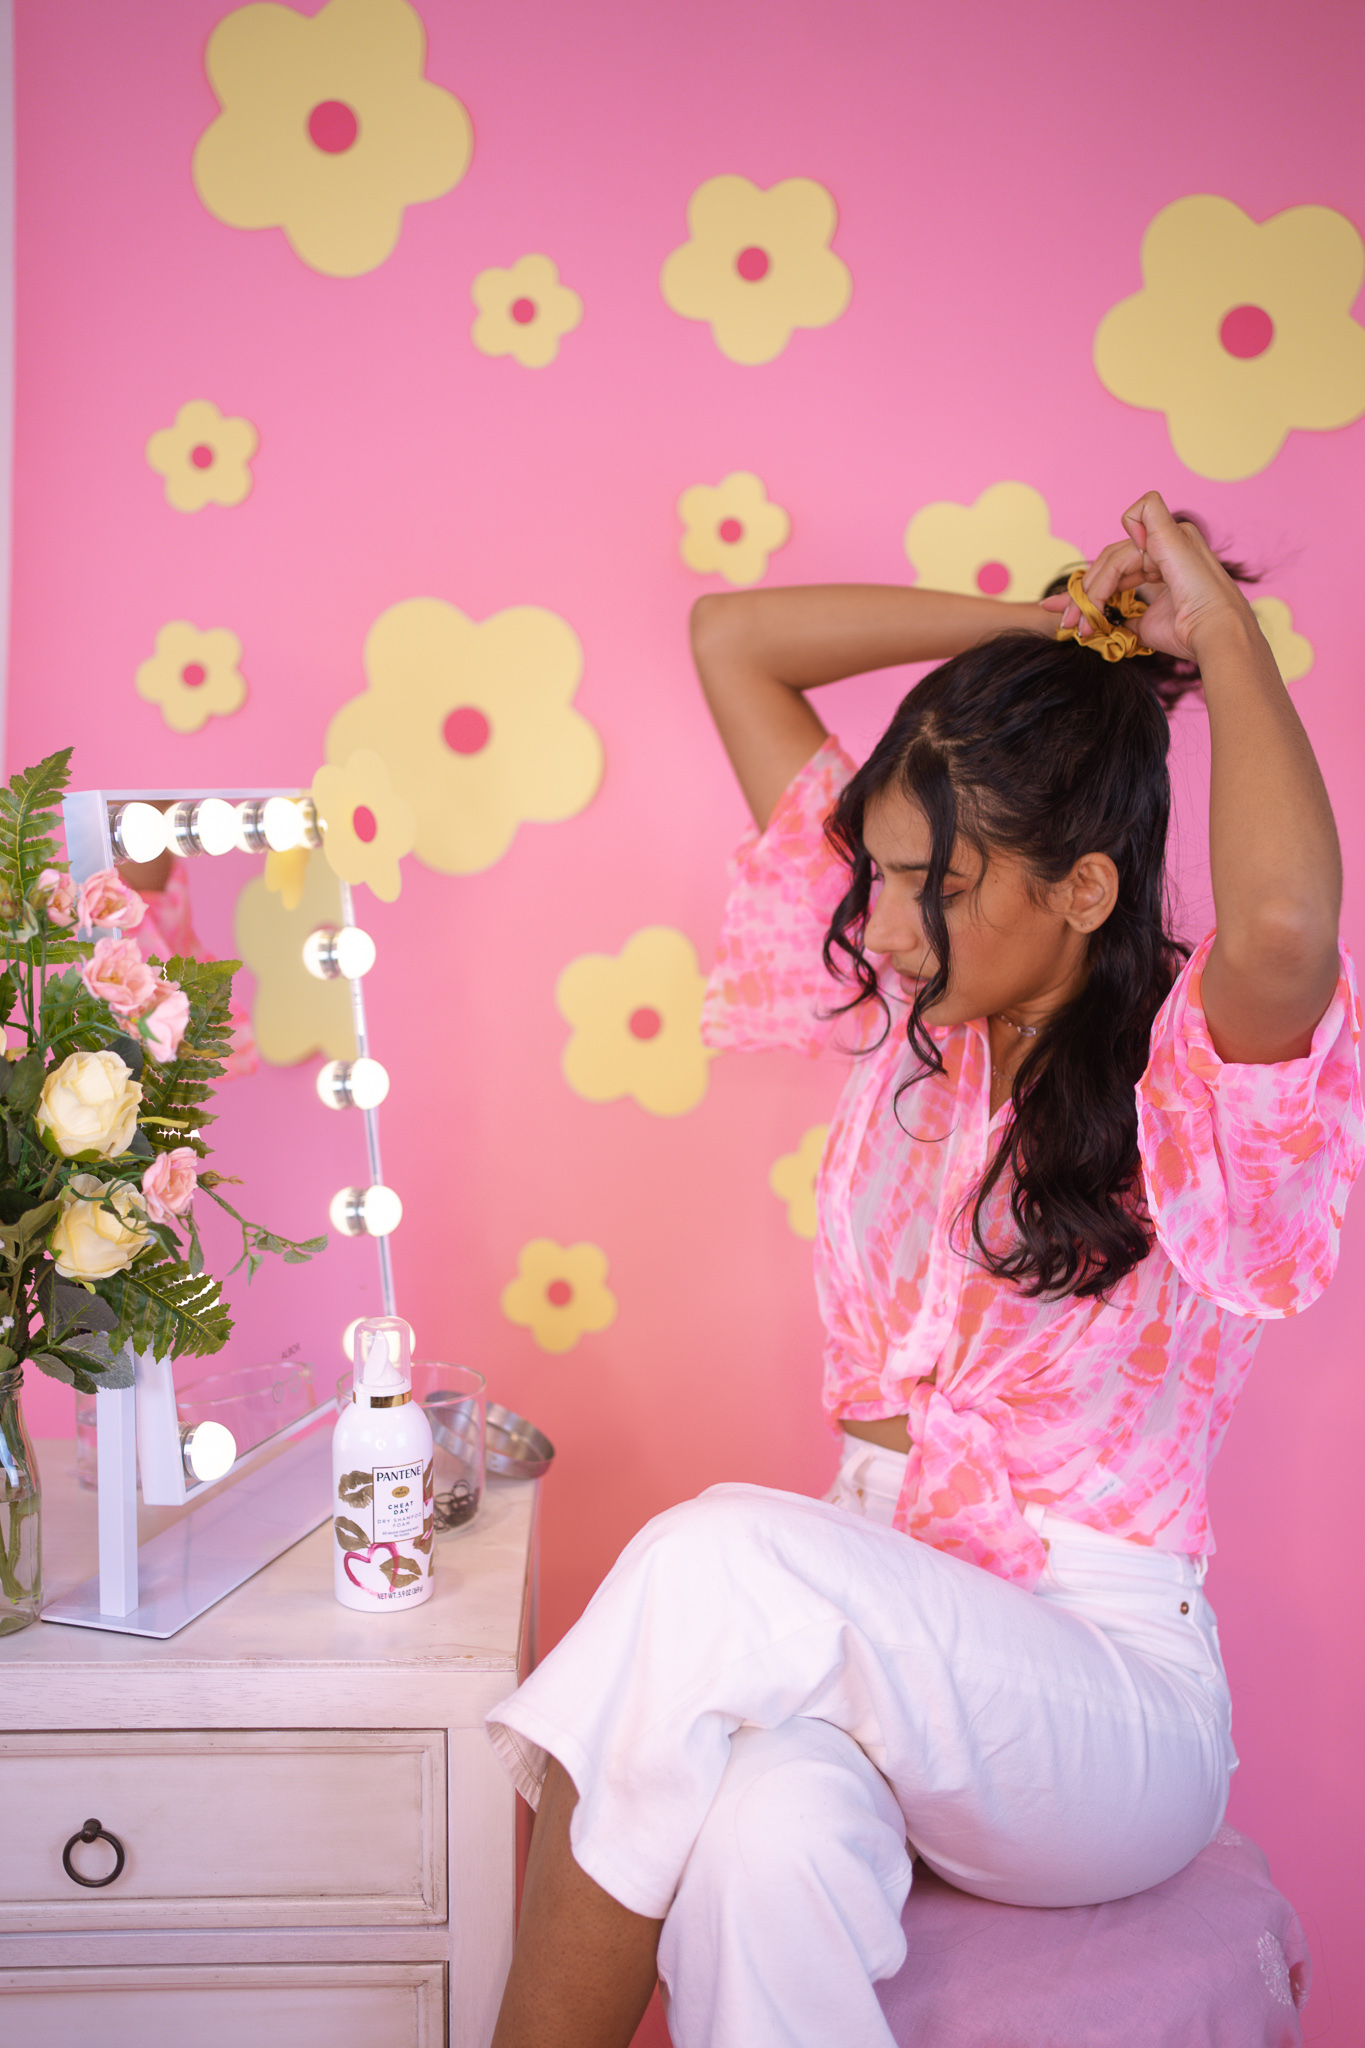
To prep my day three hair, I have two main steps. First, I apply dry shampoo to my roots, to absorb any oil that might be making my hair look greasy and weighed down.
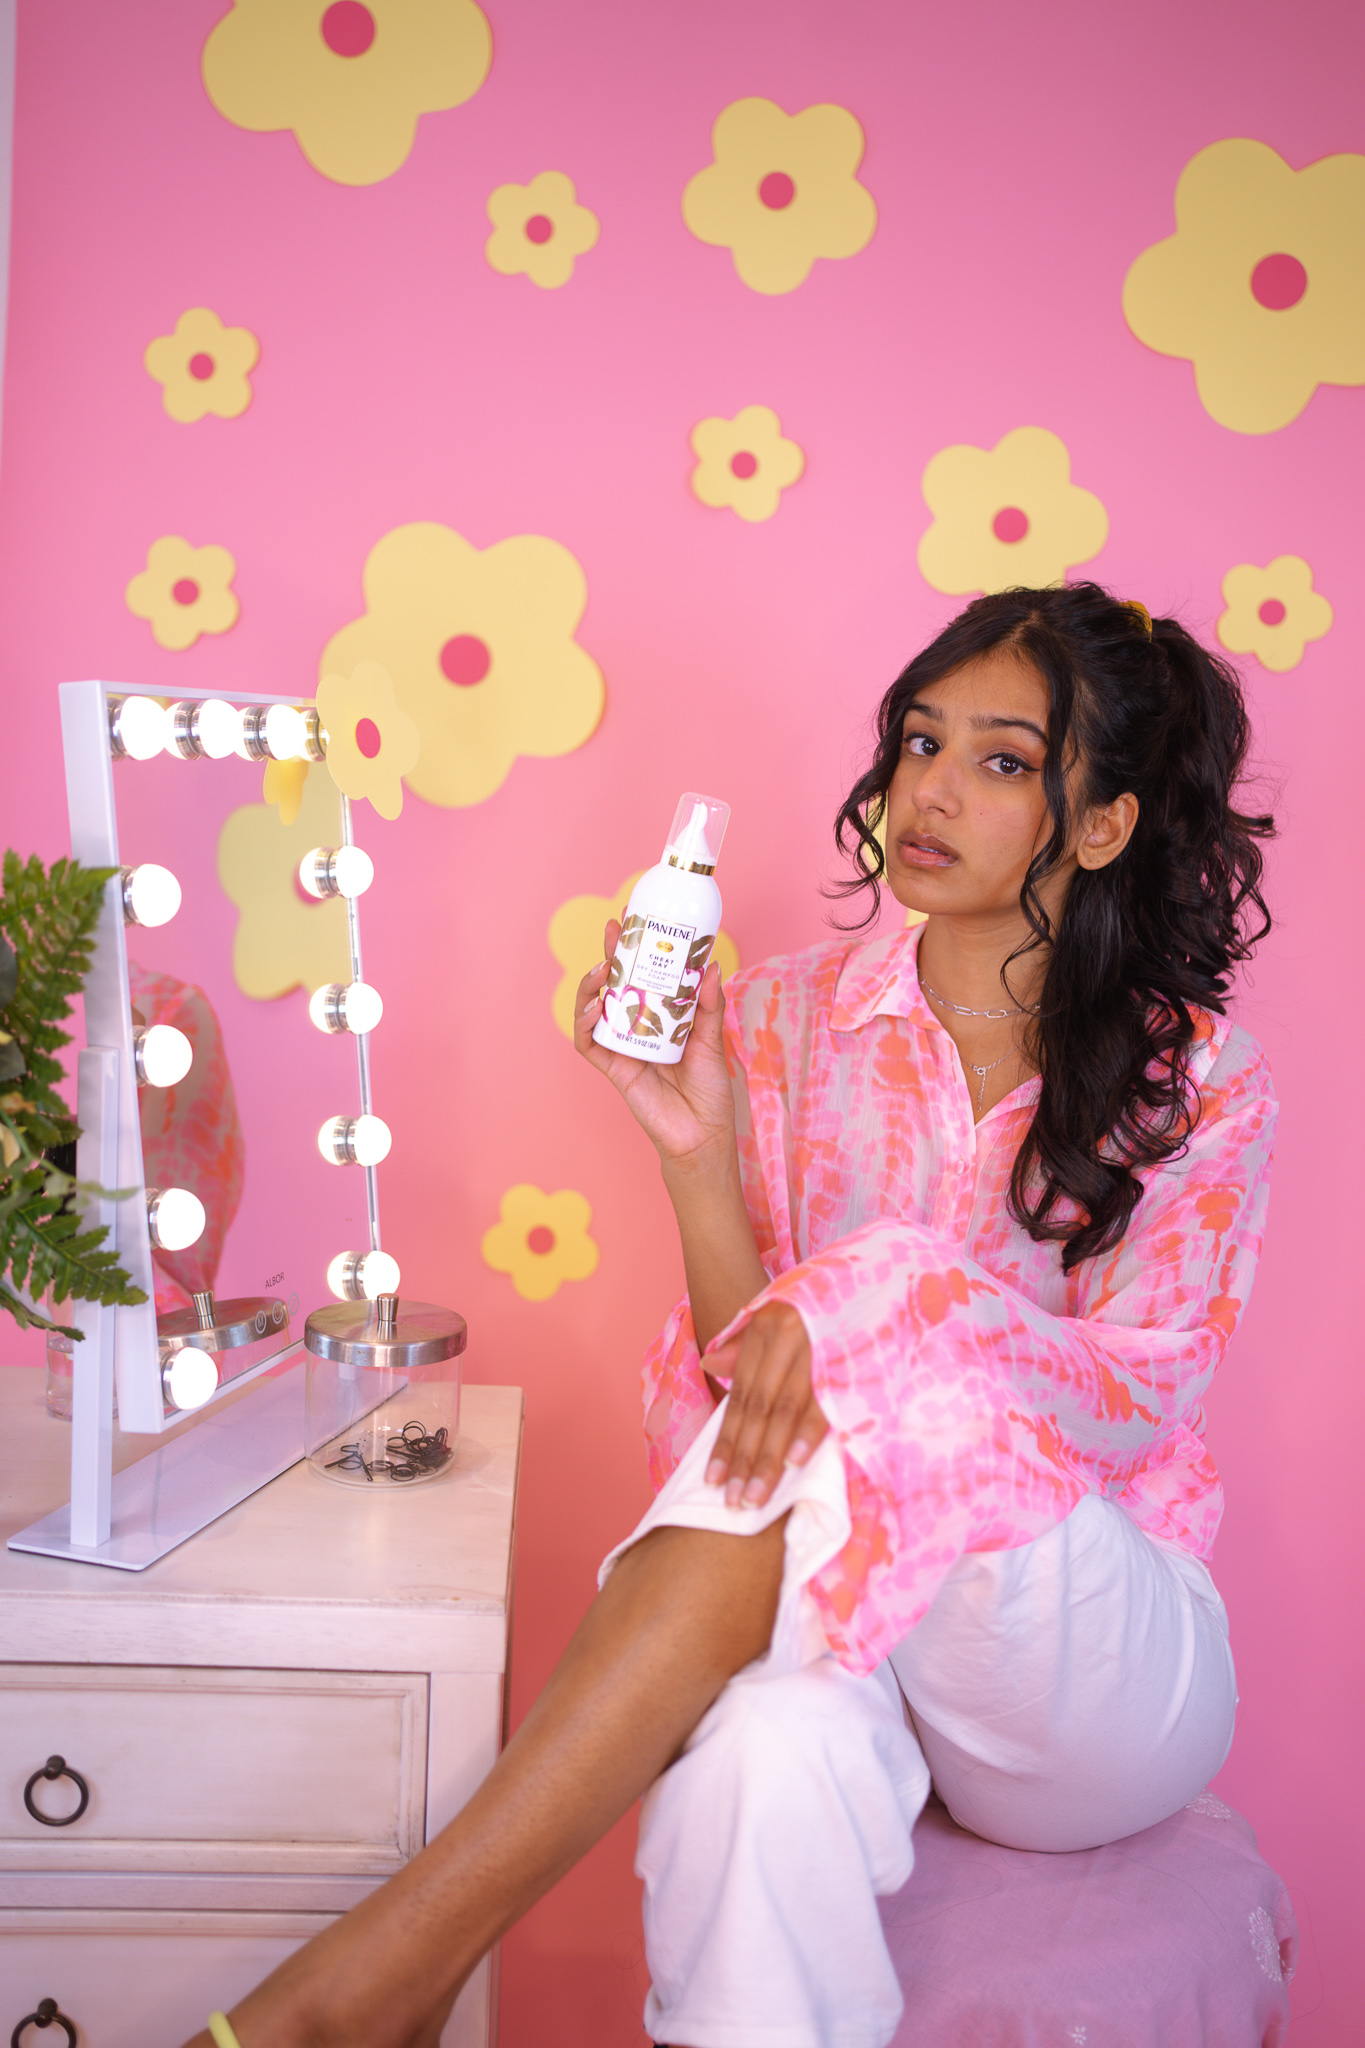
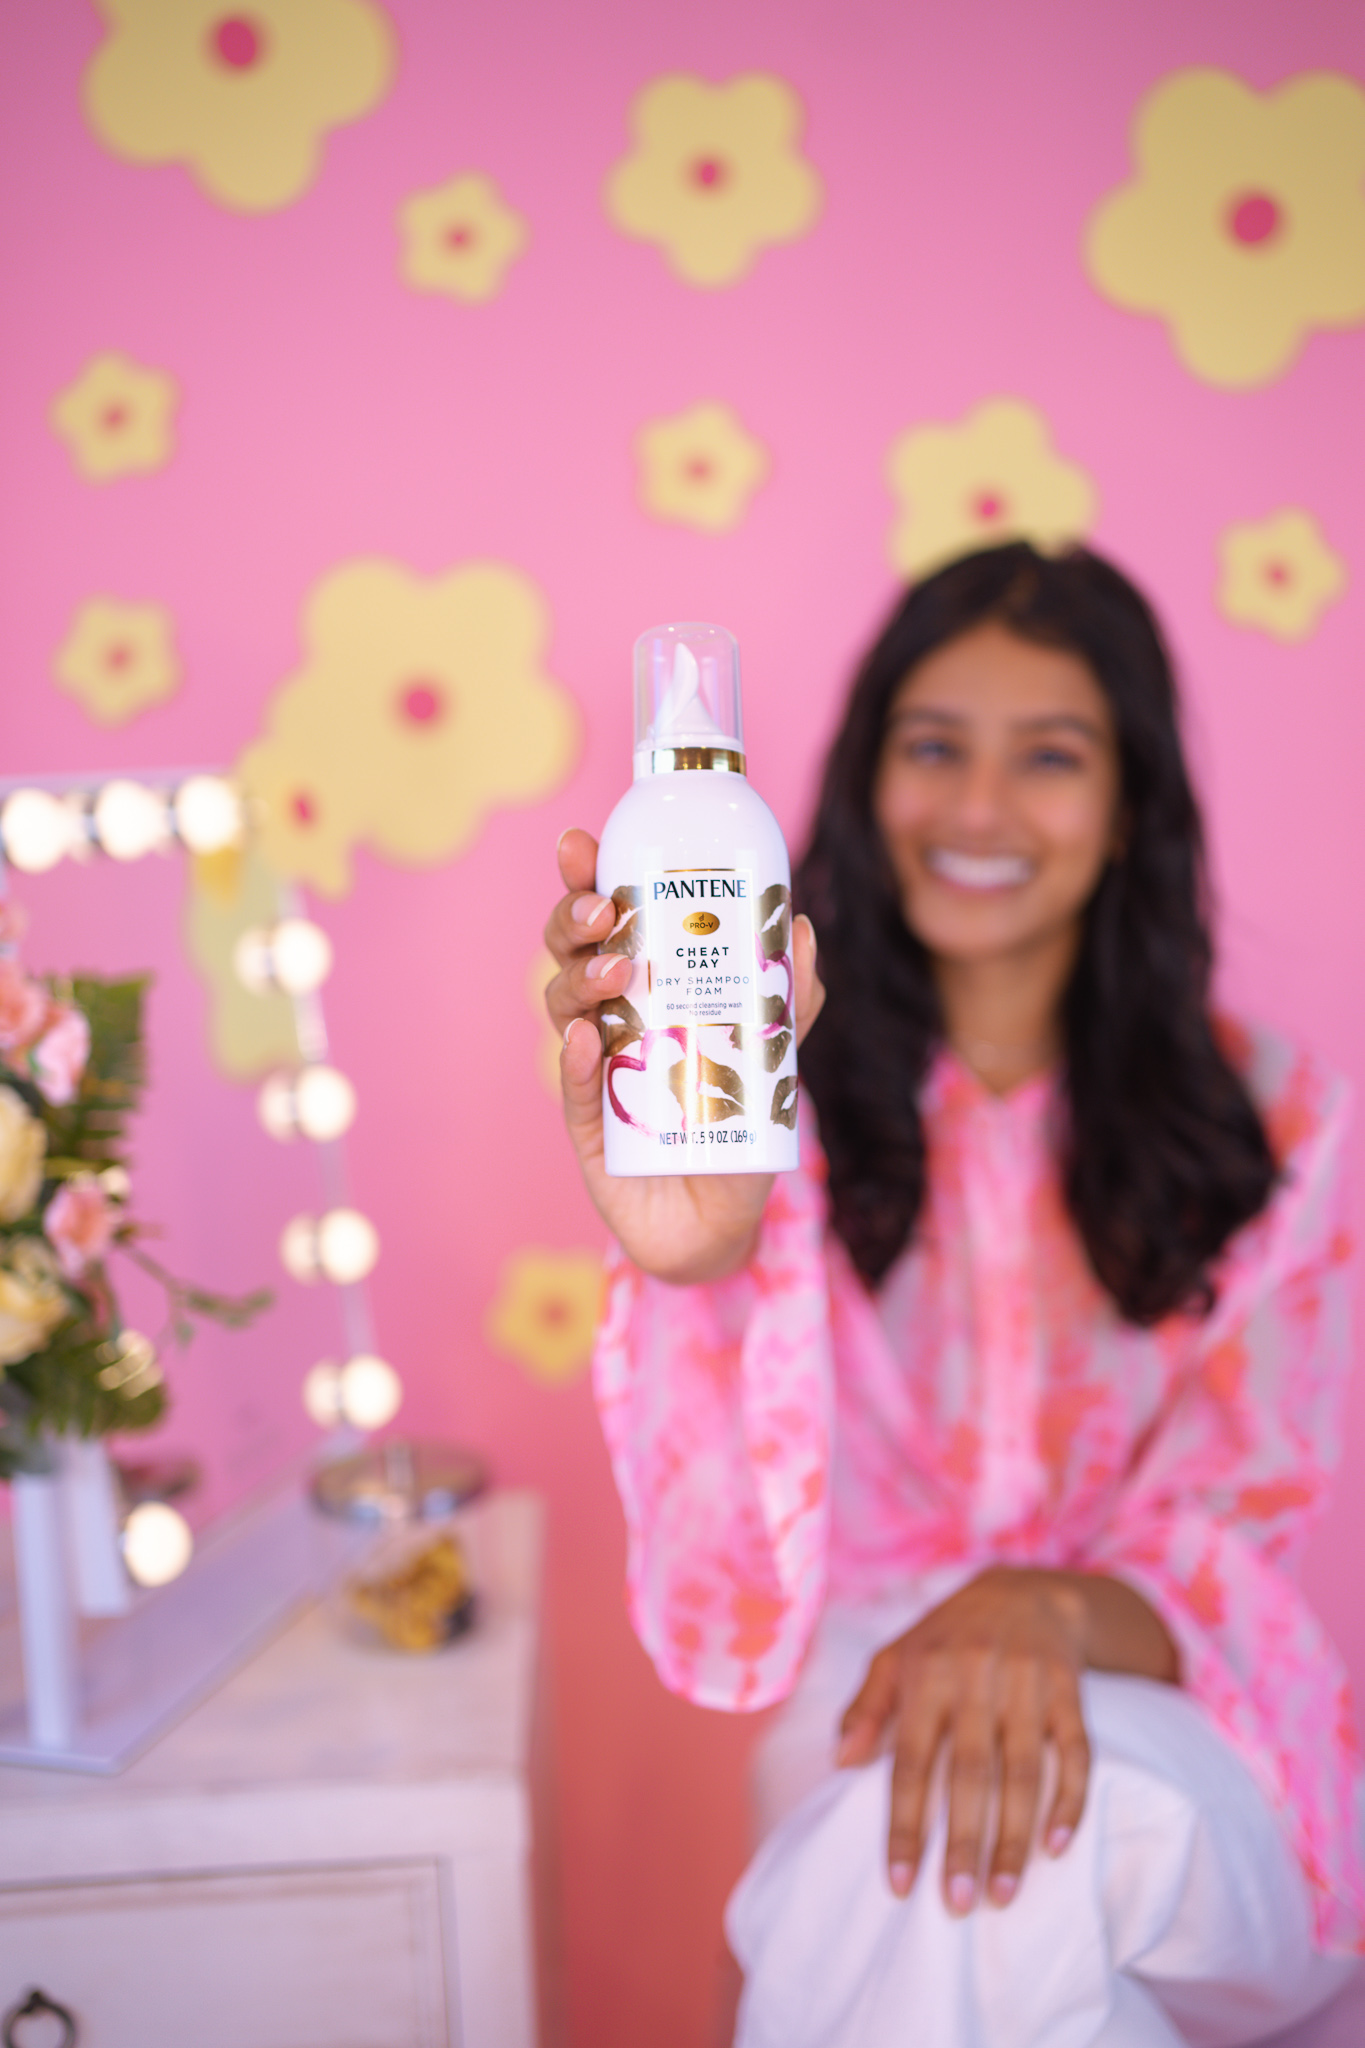
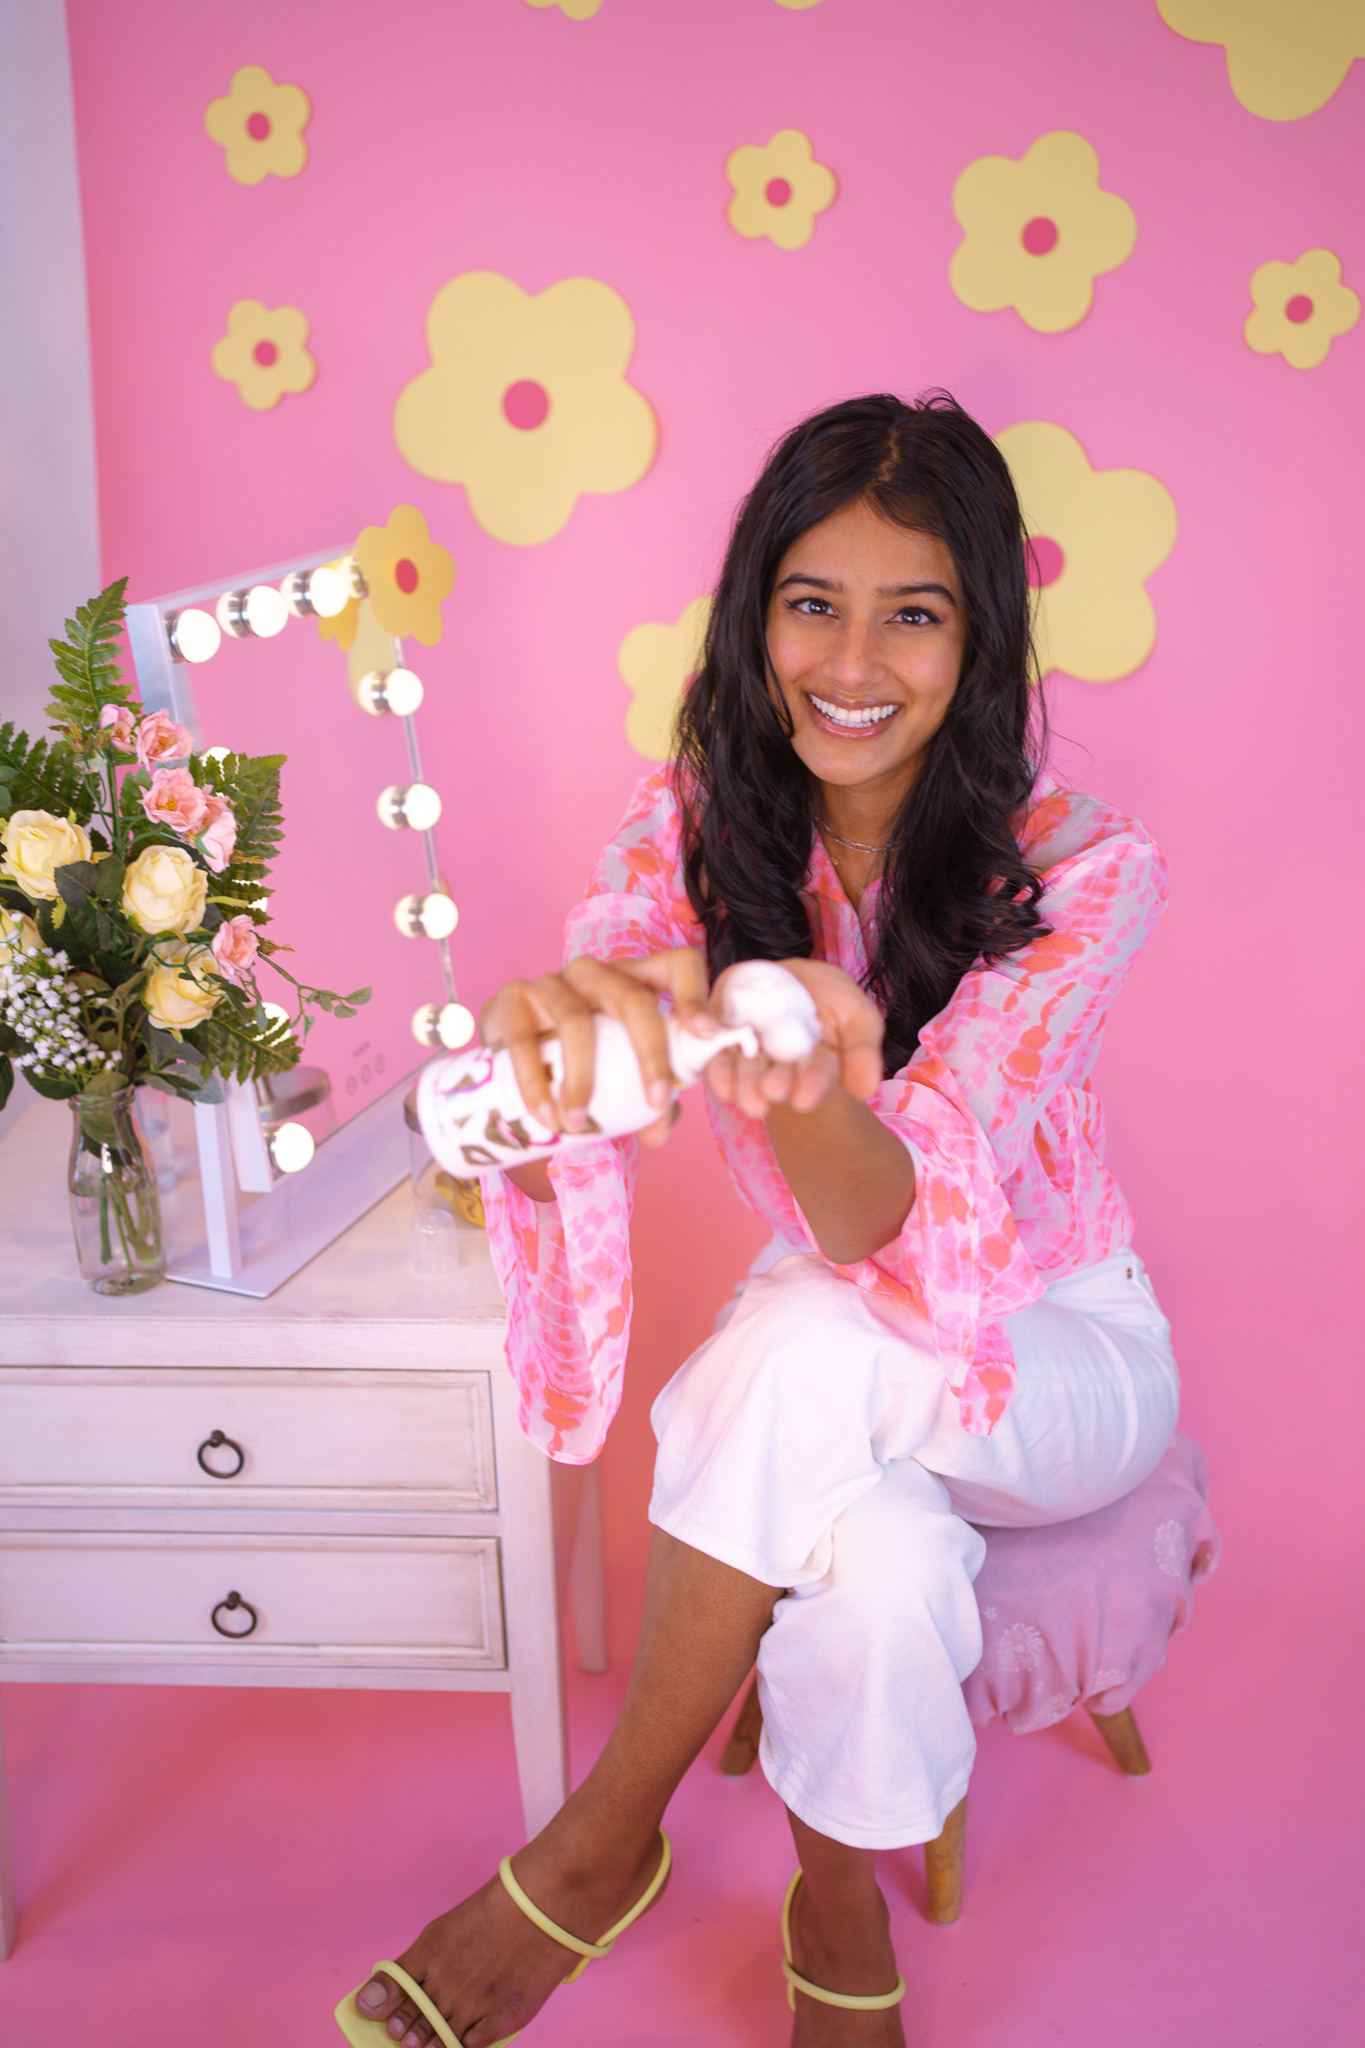
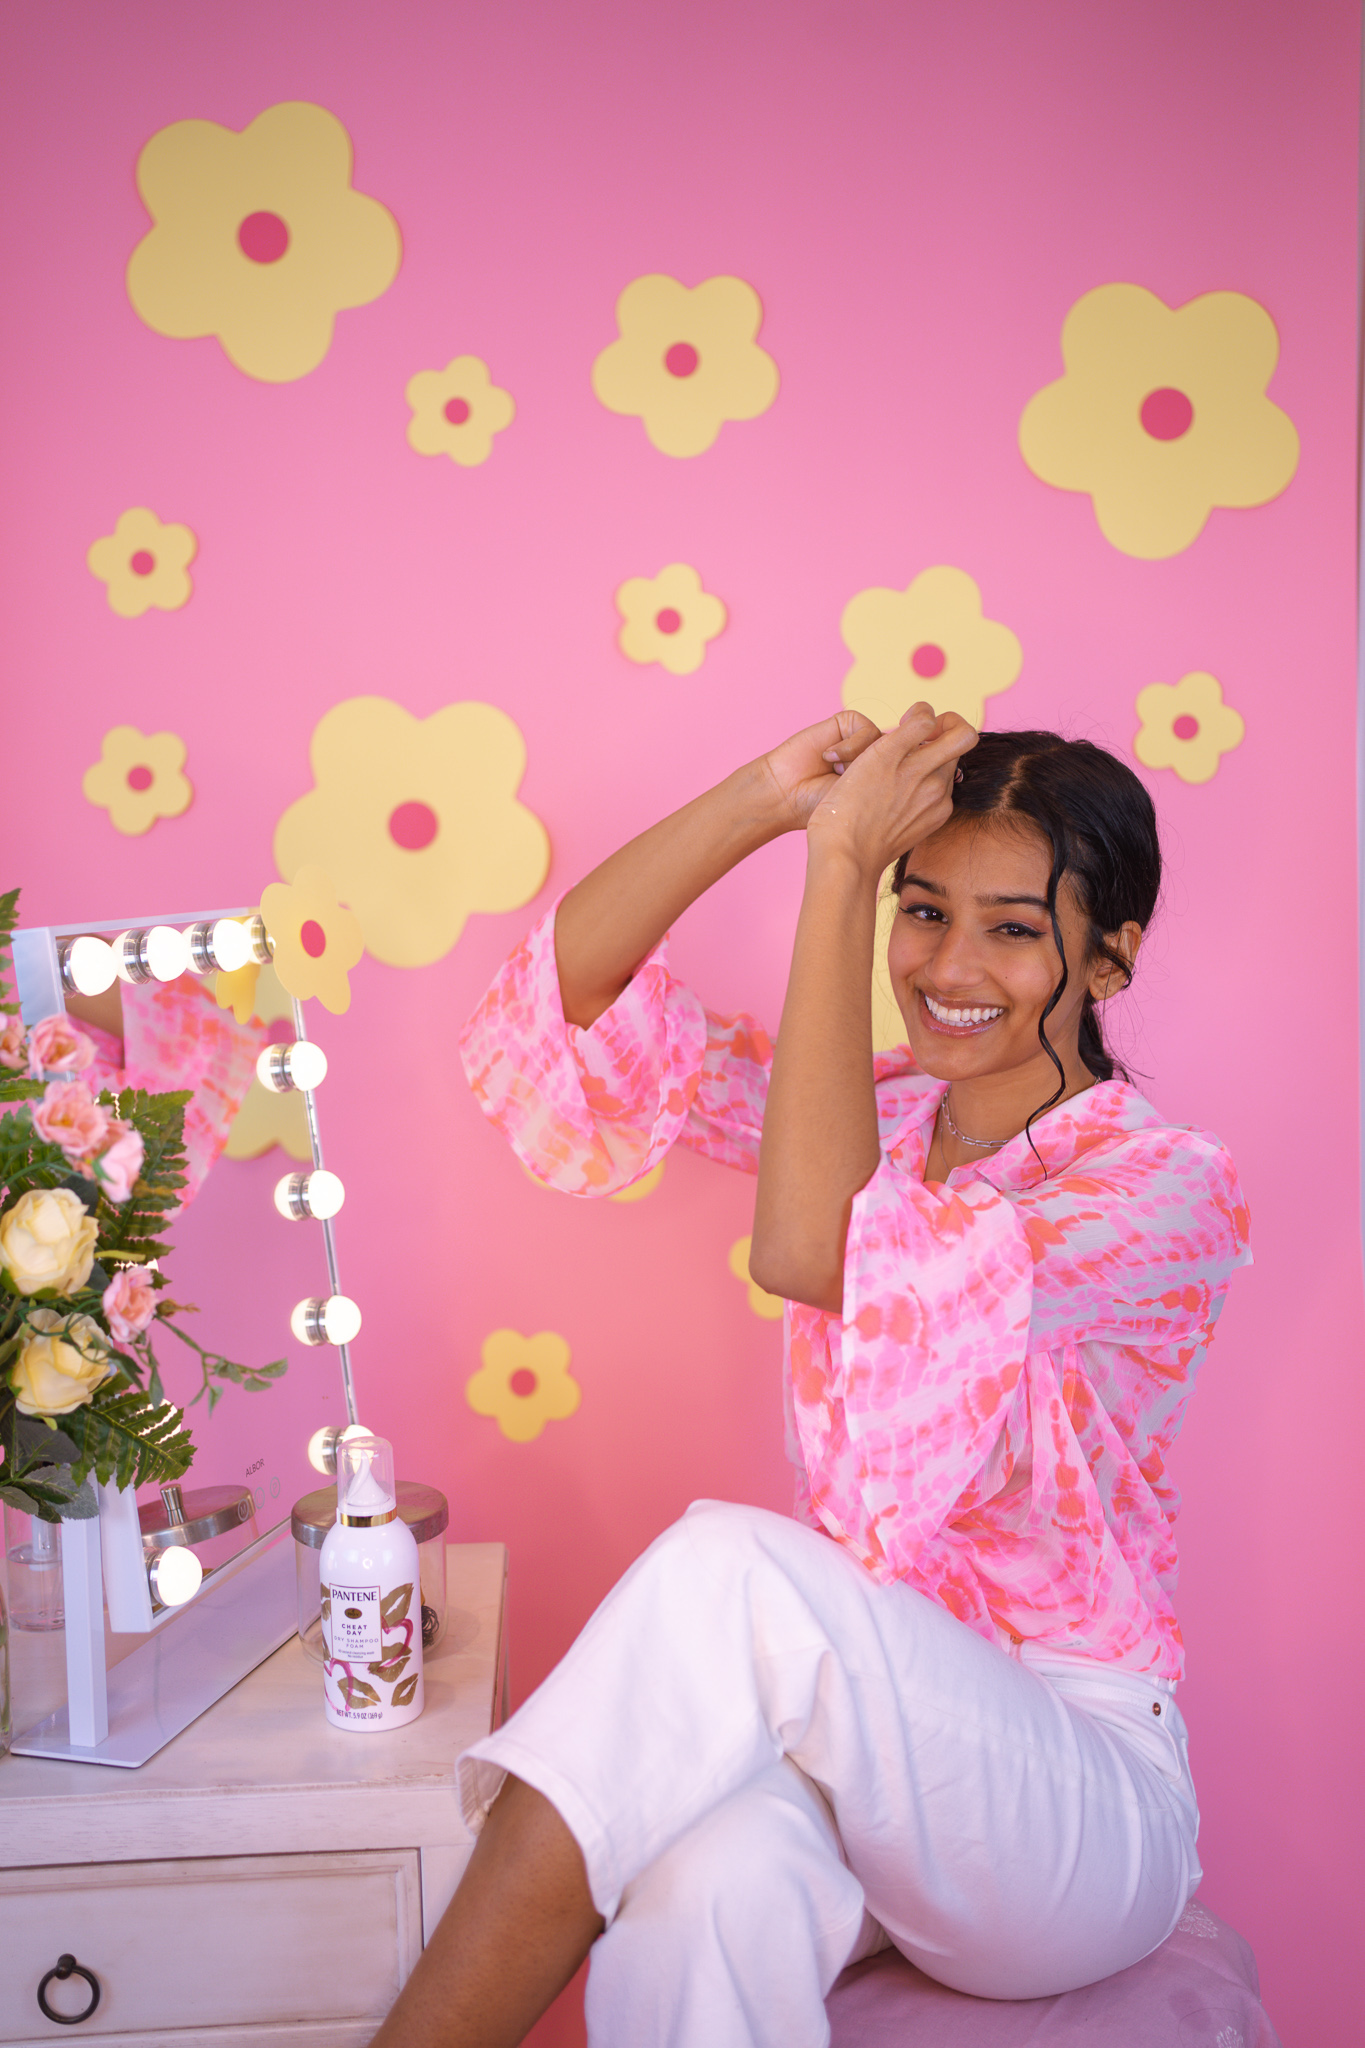
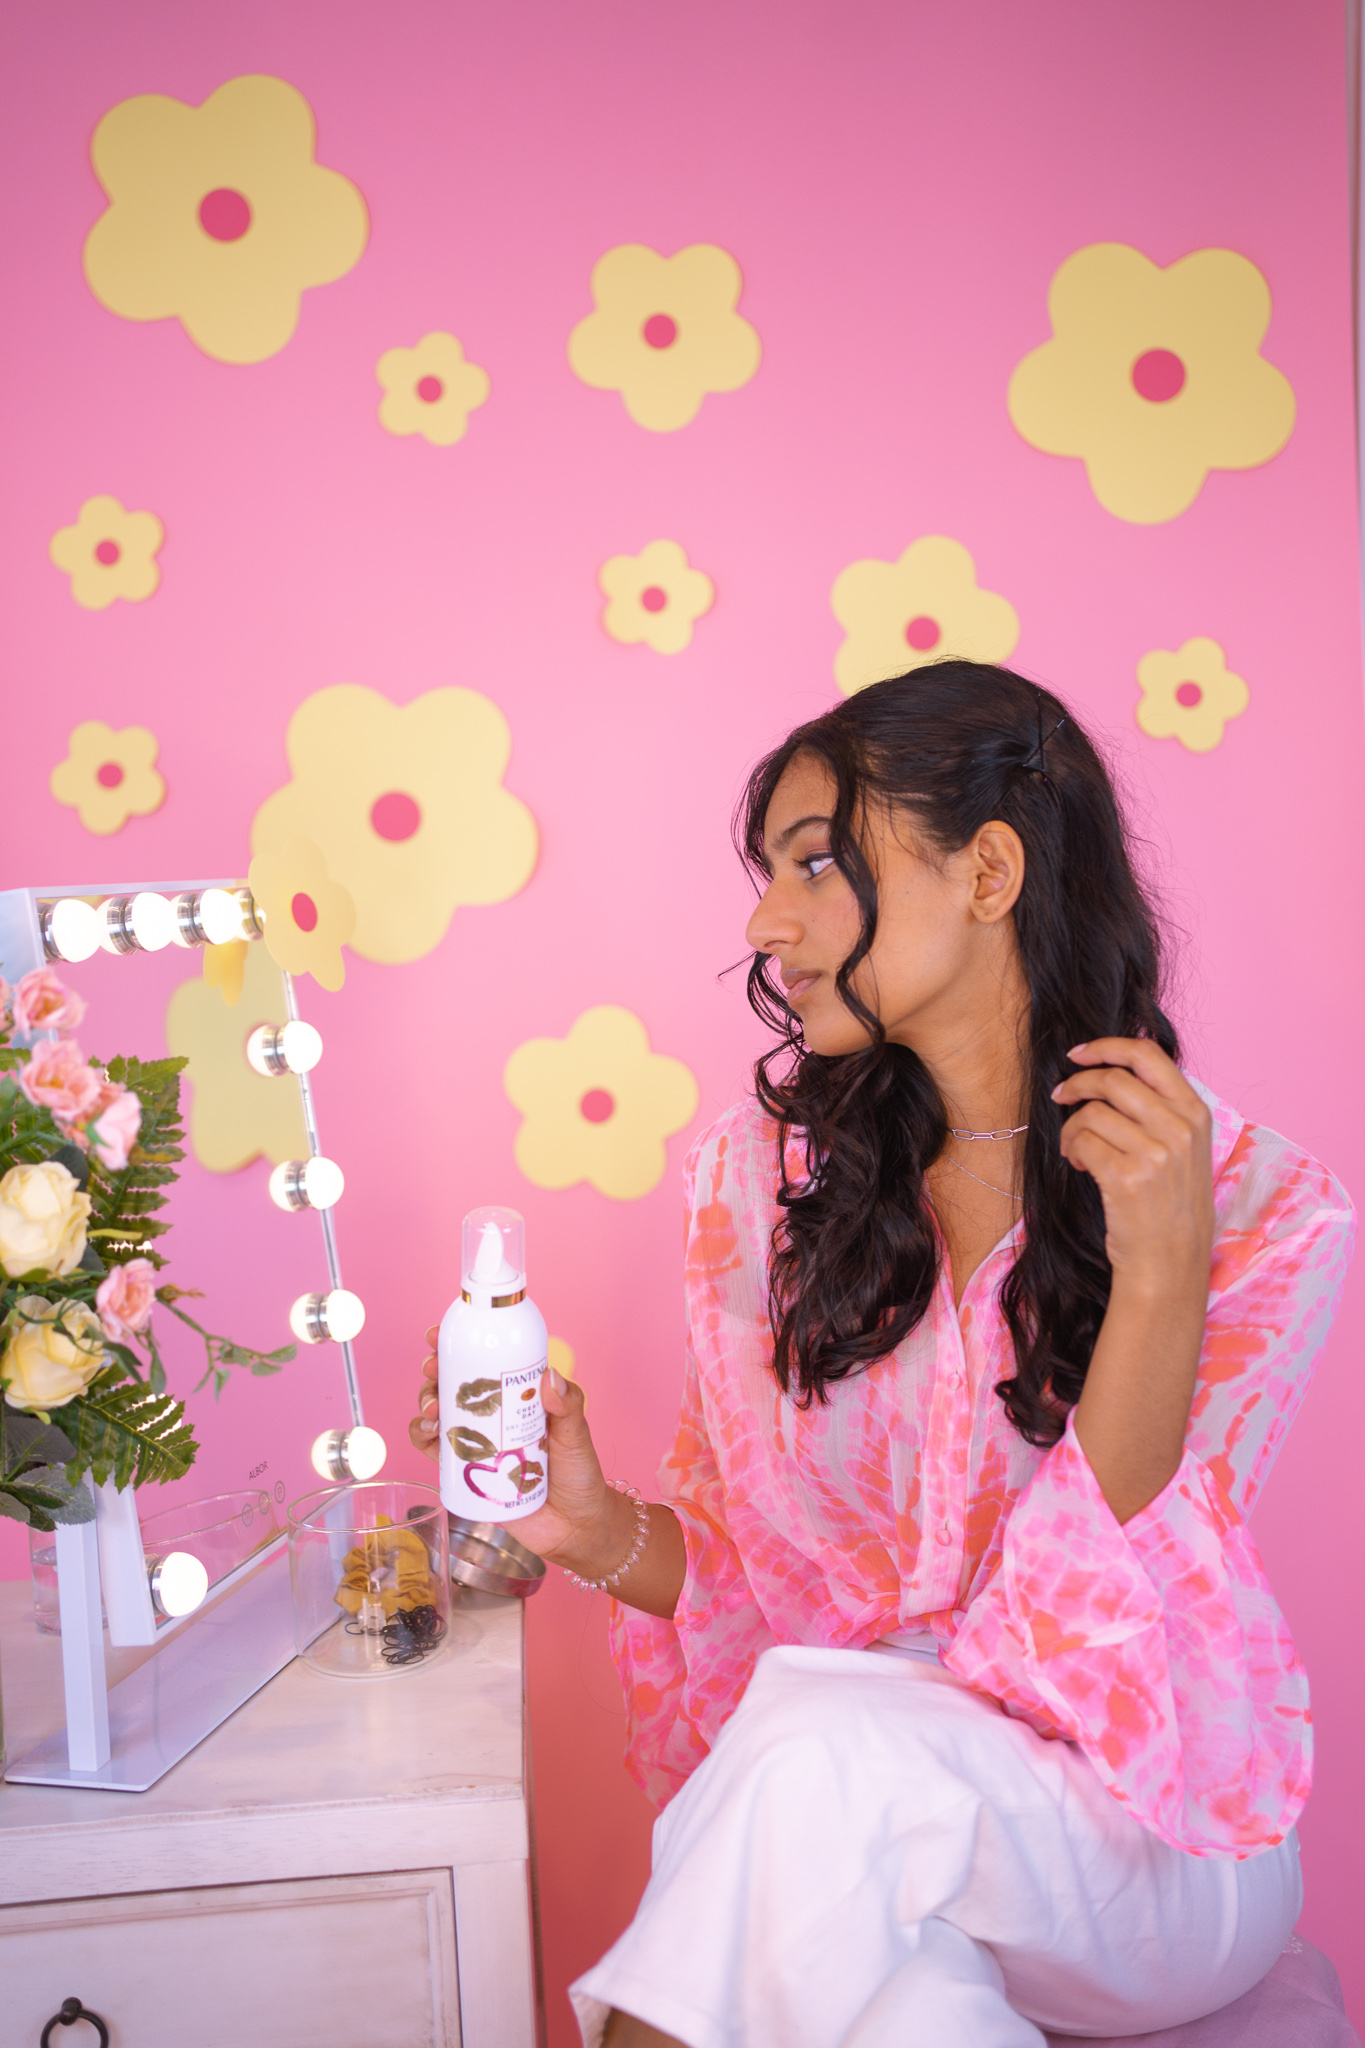
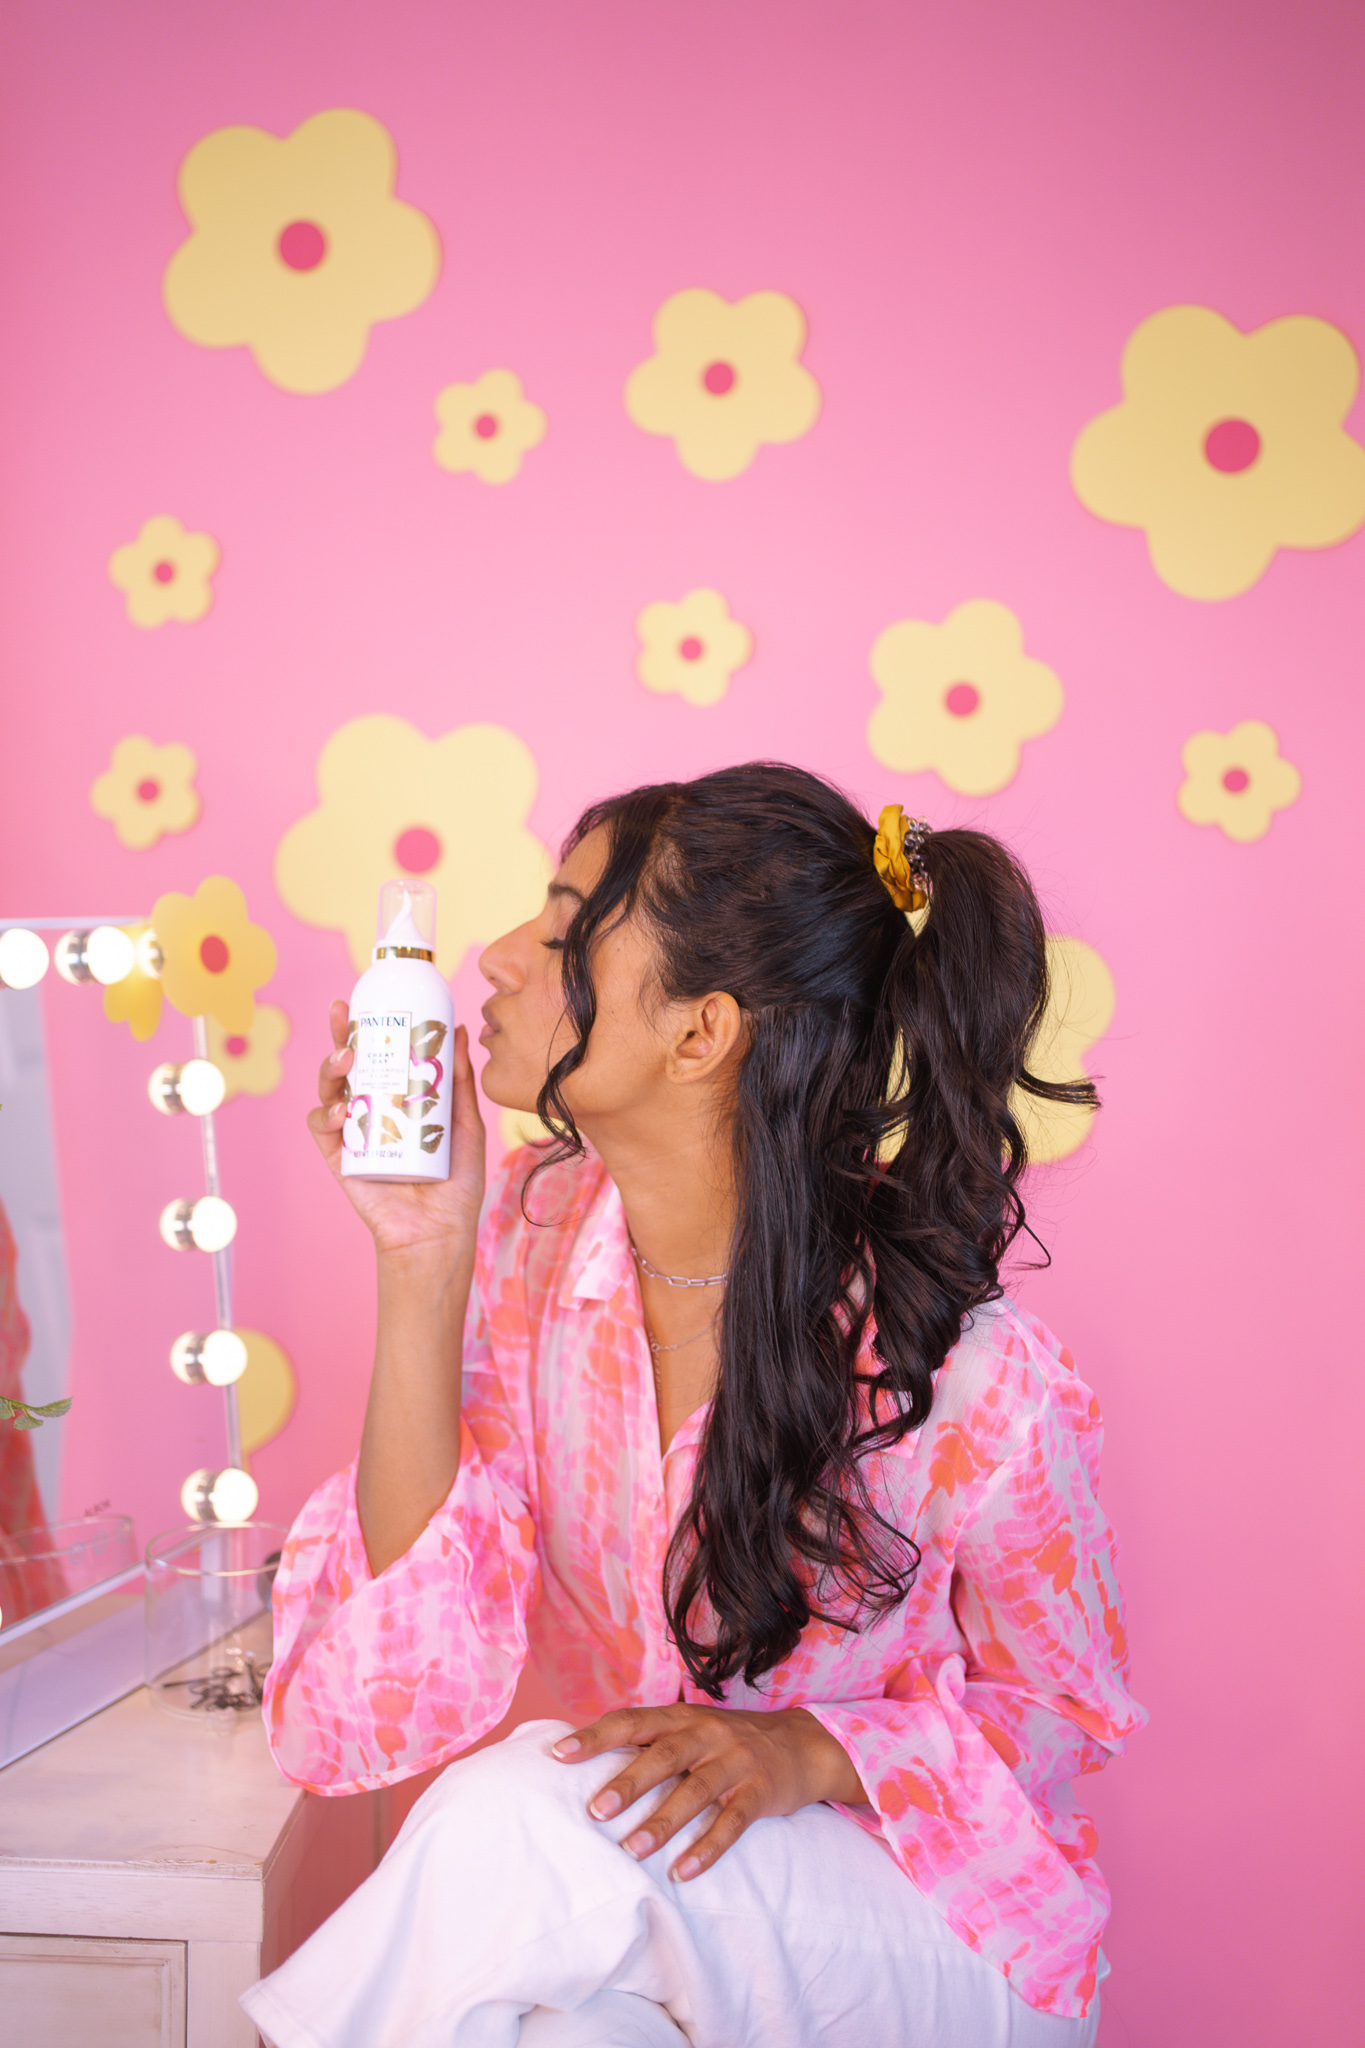
I’m using the Cheat Day Dry Shampoo Foam from Pantene’s Waterless Collection on my roots to get rid of that grease and give my hair a little more volume. The foam texture is light and easy to apply, while taking the guesswork out of application that comes with your typical spray-on dry shampoo. I use my hands and it’s easy to evenly distribute it throughout my hair, plus the scent is a really pretty jasmine and vanilla. The product quickly absorbs the oils from my scalp without leaving any residue behind, so it gives me wash-day level volume after my roots have gone flat. Here are the steps:
- Start with dry hair. Shake the bottle and squeeze a small amount of foam into your hands.
- Take a section of your hair and rub the foam into the roots – I like to start at the front and work my way backwards!
- Repeat with other sections of hair at the roots until evenly distributed for less grease and more volume!
My favorite thing about the product is it doesn’t contain any parabens, sulfates, silicones, waxes or drying alcohols, it’s completely Curly Girl Method approved! This means I know it’s safe to use on my strands. I was actually so excited that I got to use the product, because it’s been recommended to me so many times in my curl care research. It’s a budget-friendly option, especially for people with curly hair who may be spending more money on curl-friendly products.
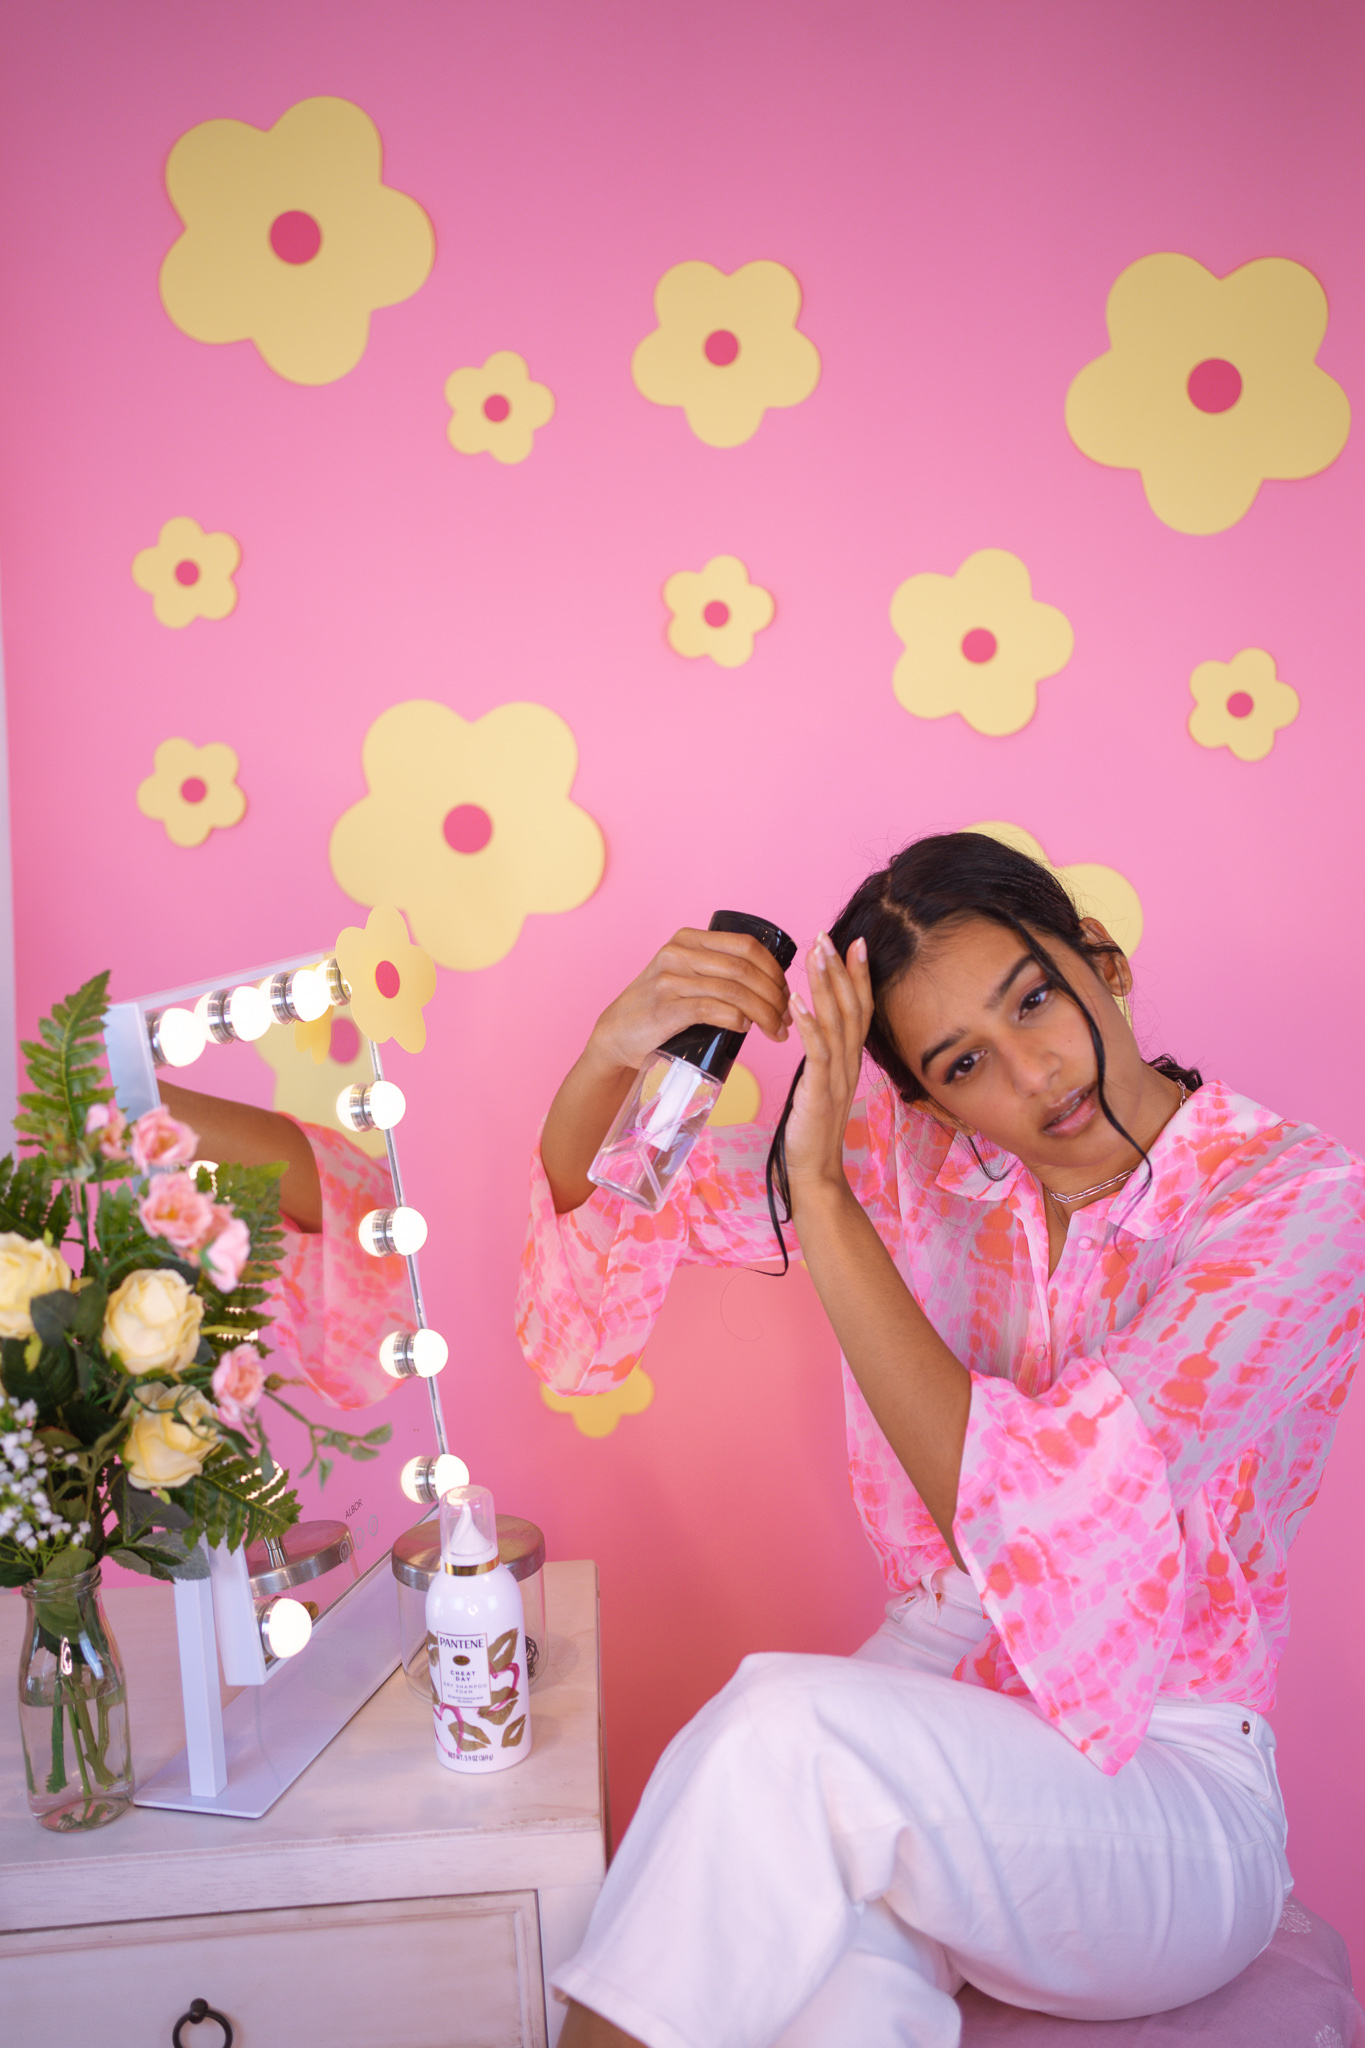
The second step I do is refresh my bangs, (you can skip this step if you don’t have bangs). For most of my hairstyles, I like having some face framing pieces left out, a few perfect ringlets in front has such a big impact on my finished look. It’s also much easier to refresh my bangs rather than my entire head of hair. What I do is gently wet my bangs with a little water and either brush or finger coil them to reactivate the products I used on wash day, which helps to bring them back to their natural shape.
Hairstyle 1: Half up half down with tiny elastics or clips
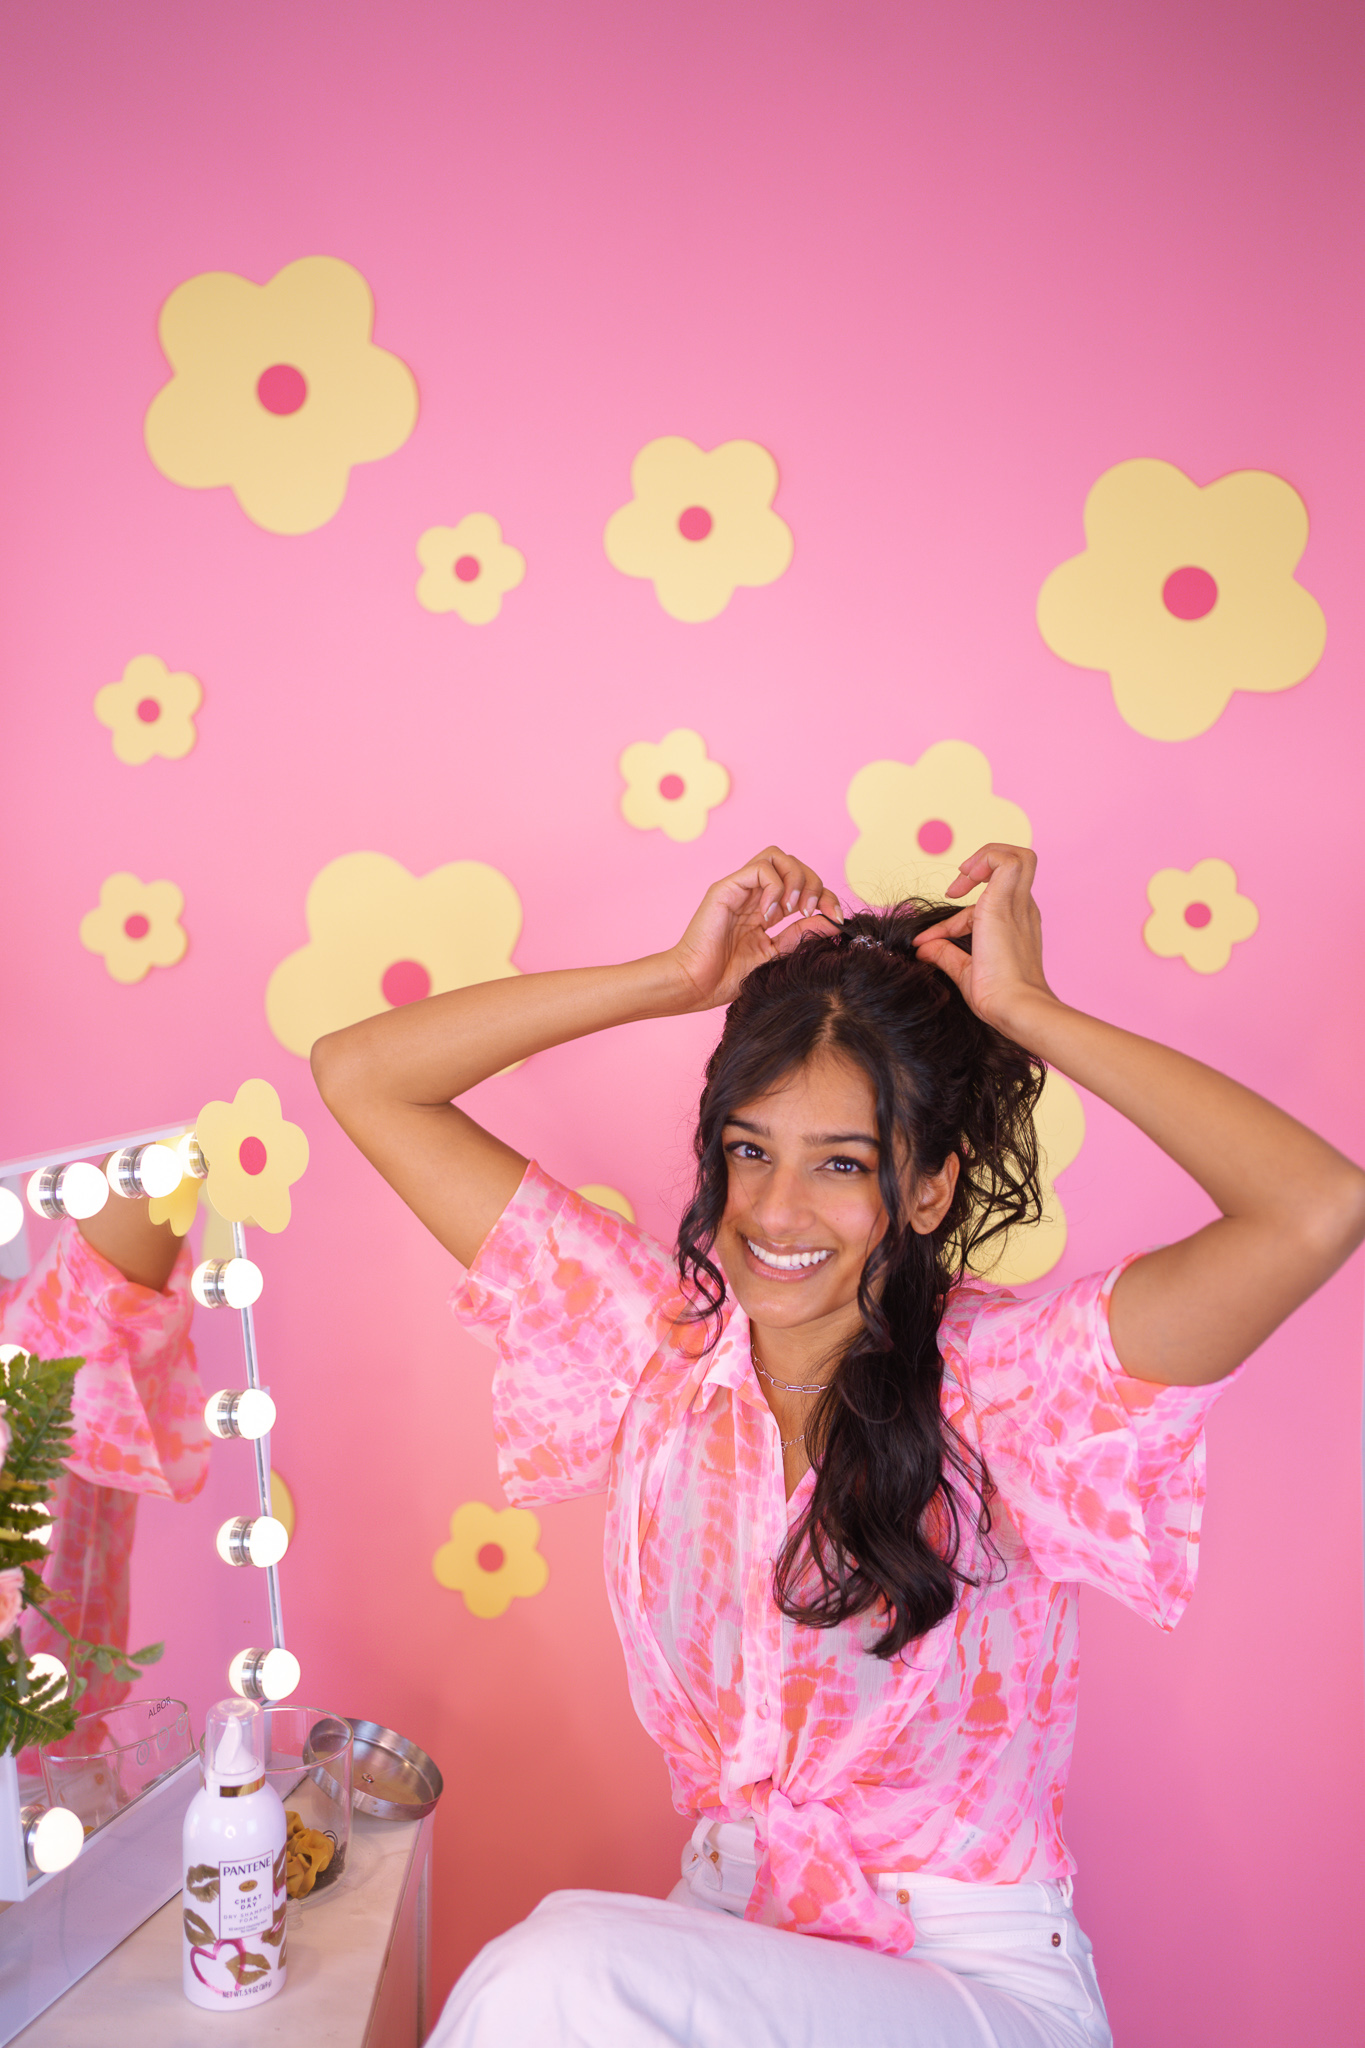
This first hairstyle is great for when your curls are still intact but maybe not the neatest. It allows you to tame the unruly curls while letting the bouncy ones still shine. As you can see, this style really only hides the top layer, making it more of a curly hairstyle. I personally love this style because my bottom layer is always much curlier than my top layer, especially by day three. If you have the same experience with your hair, you can use this style to show off the best parts. Here are the steps:
1. Section off your bangs or face framing pieces, you can clip them together if you want
2. Part your hair down the middle or wherever is natural to you and grab two sections just above the top of the ear, creating two half-do ponytails
3. With your fingers, twist curls that have been separated out so they maintain their definition before securing your hair
4. Tie it back with an elastic, claw clips or butterfly clips, or bobby pins depending what you have available
Hairstyle 2: High half-up side ponytail
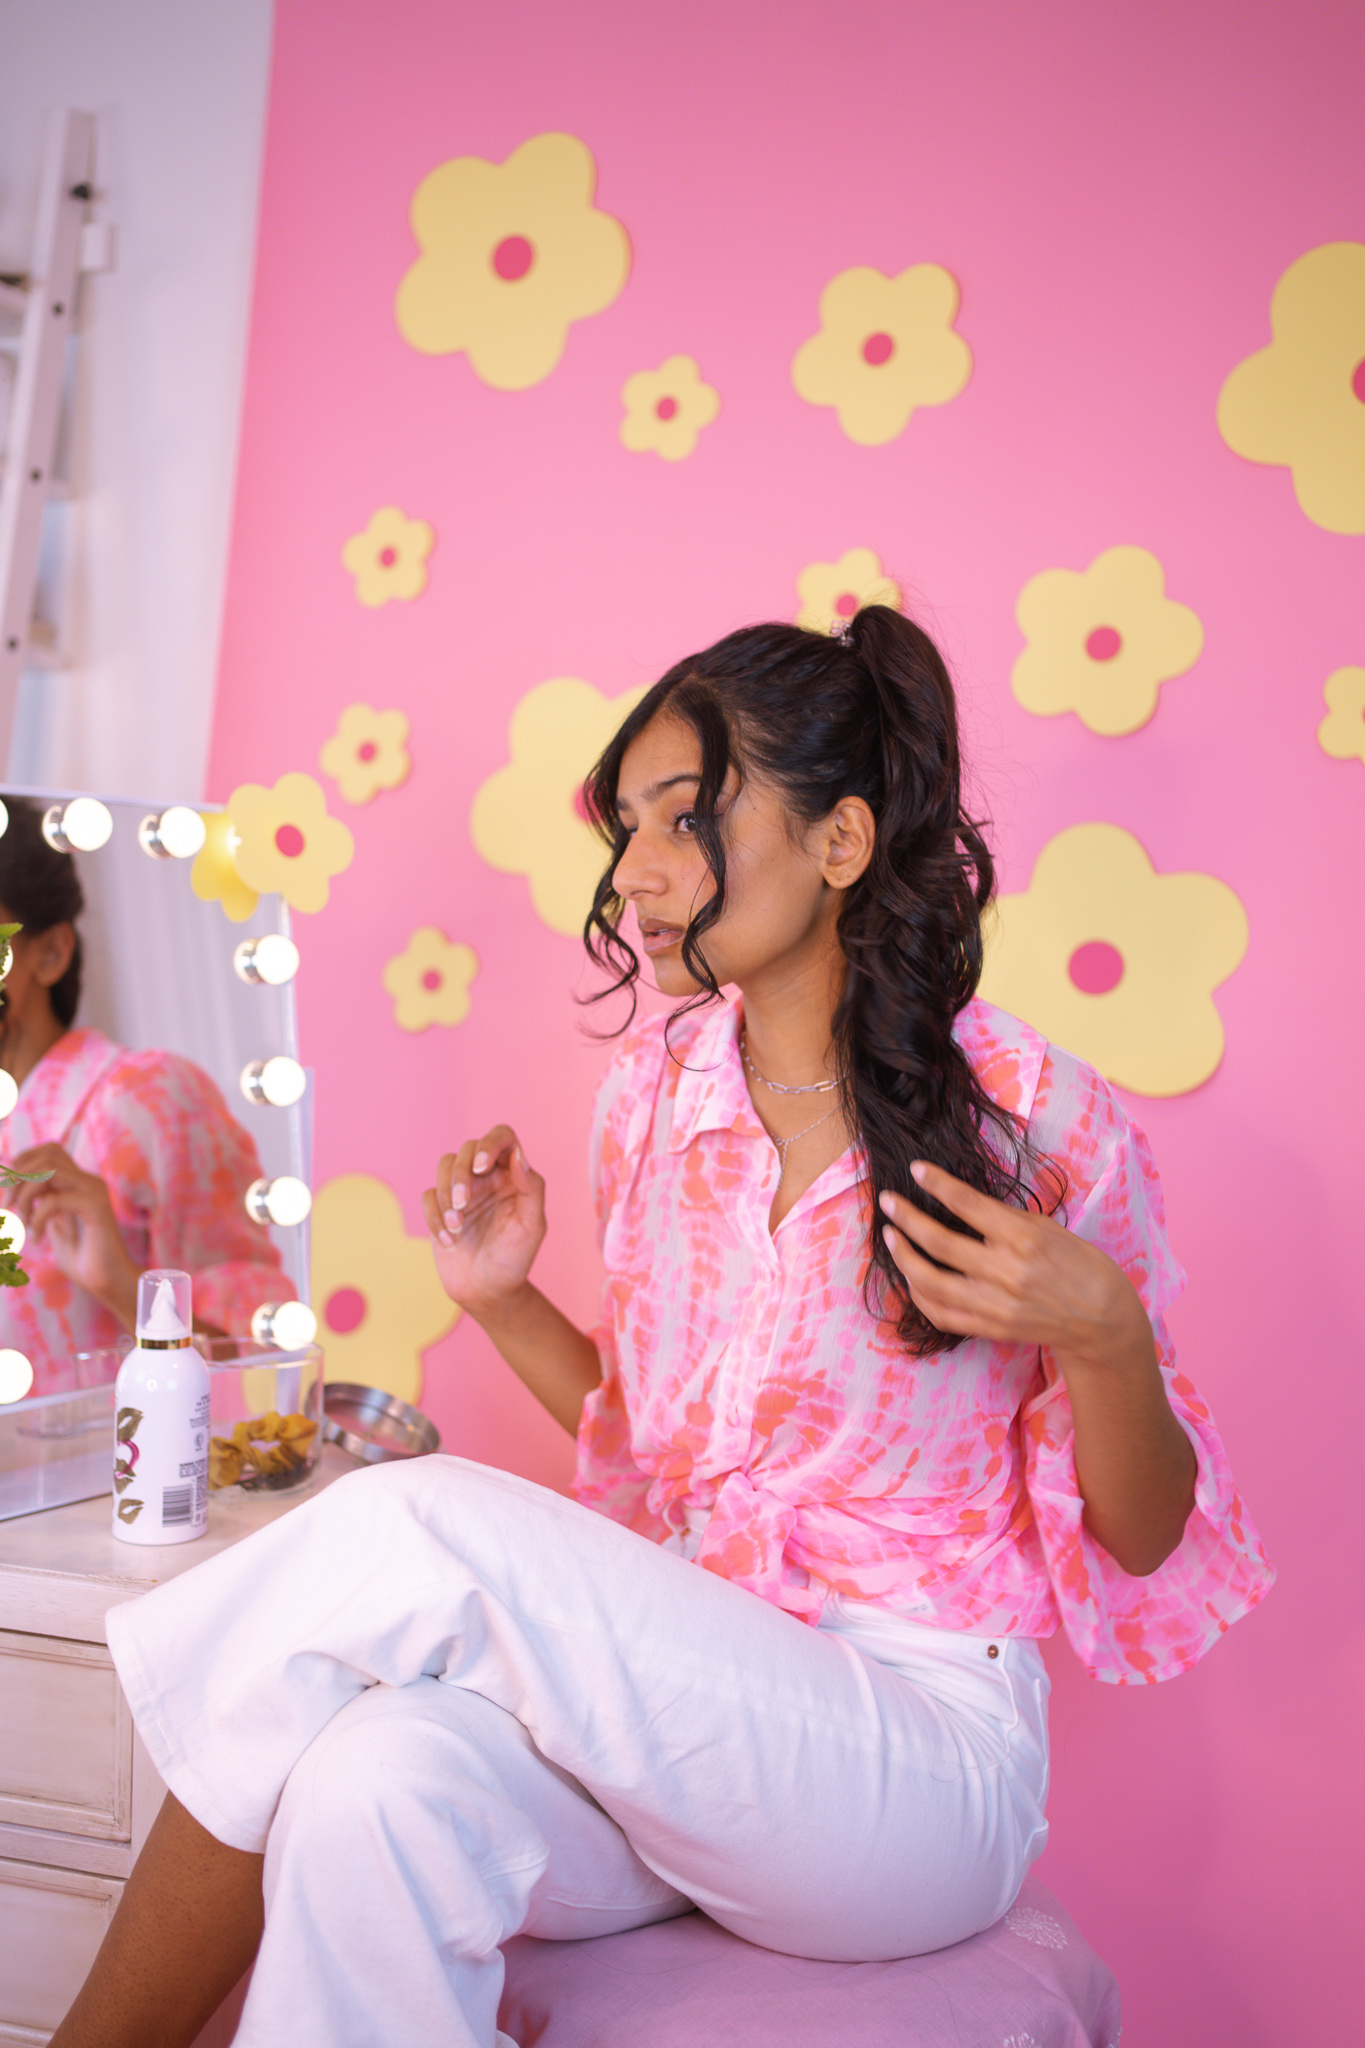
This next style is for when your ends are still curly but your roots have lost their curl. I particularly love this look because it gives the illusion of super long hair, without having to have super long hair. Since the top part is much thicker than the bottom part, it appears as a really long and voluminous ponytail. Rather than your typical half up half down do, this style is unique and retro, and definitely perfect for day three hair. Here are the steps:
- Gather a large section of hair at ear level, flipping your head upside down if you need to
- Before securing, smooth down the sides and back to avoid bumps
- With an elastic, tie it high and right in the middle of your head, I used a coiled elastic to keep the ponytail in place but added a scrunchie on top to elevate the cuteness of the look
- Pull at sides of the ponytail to give it more lift and volume, fluffing out the top
- Push all of your hair to one side for the high ponytail illusion
Hairstyle 3: Braided double buns
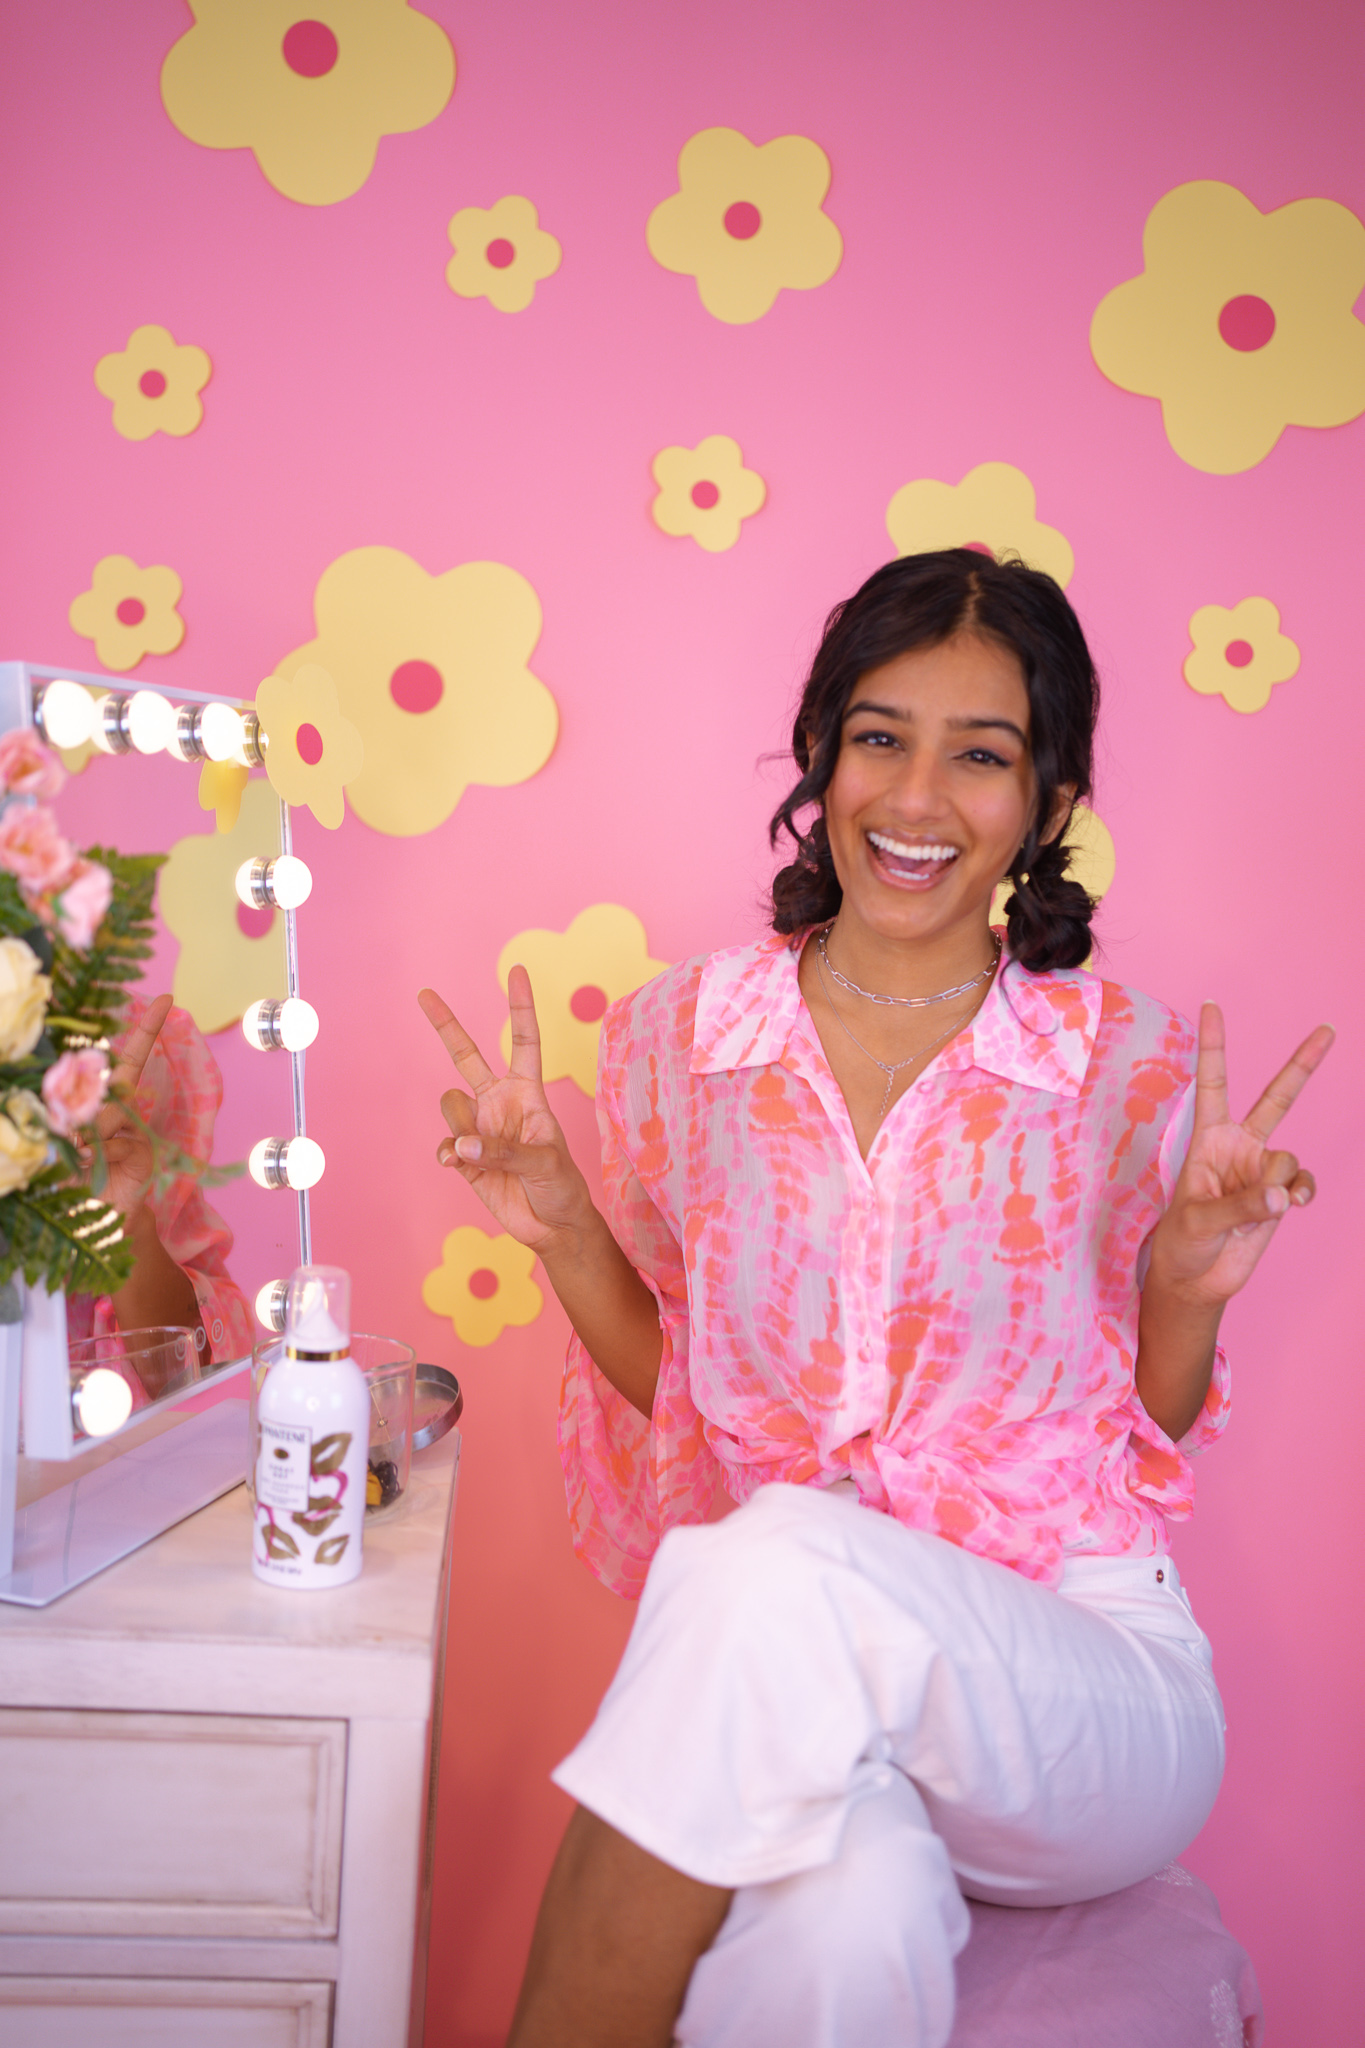
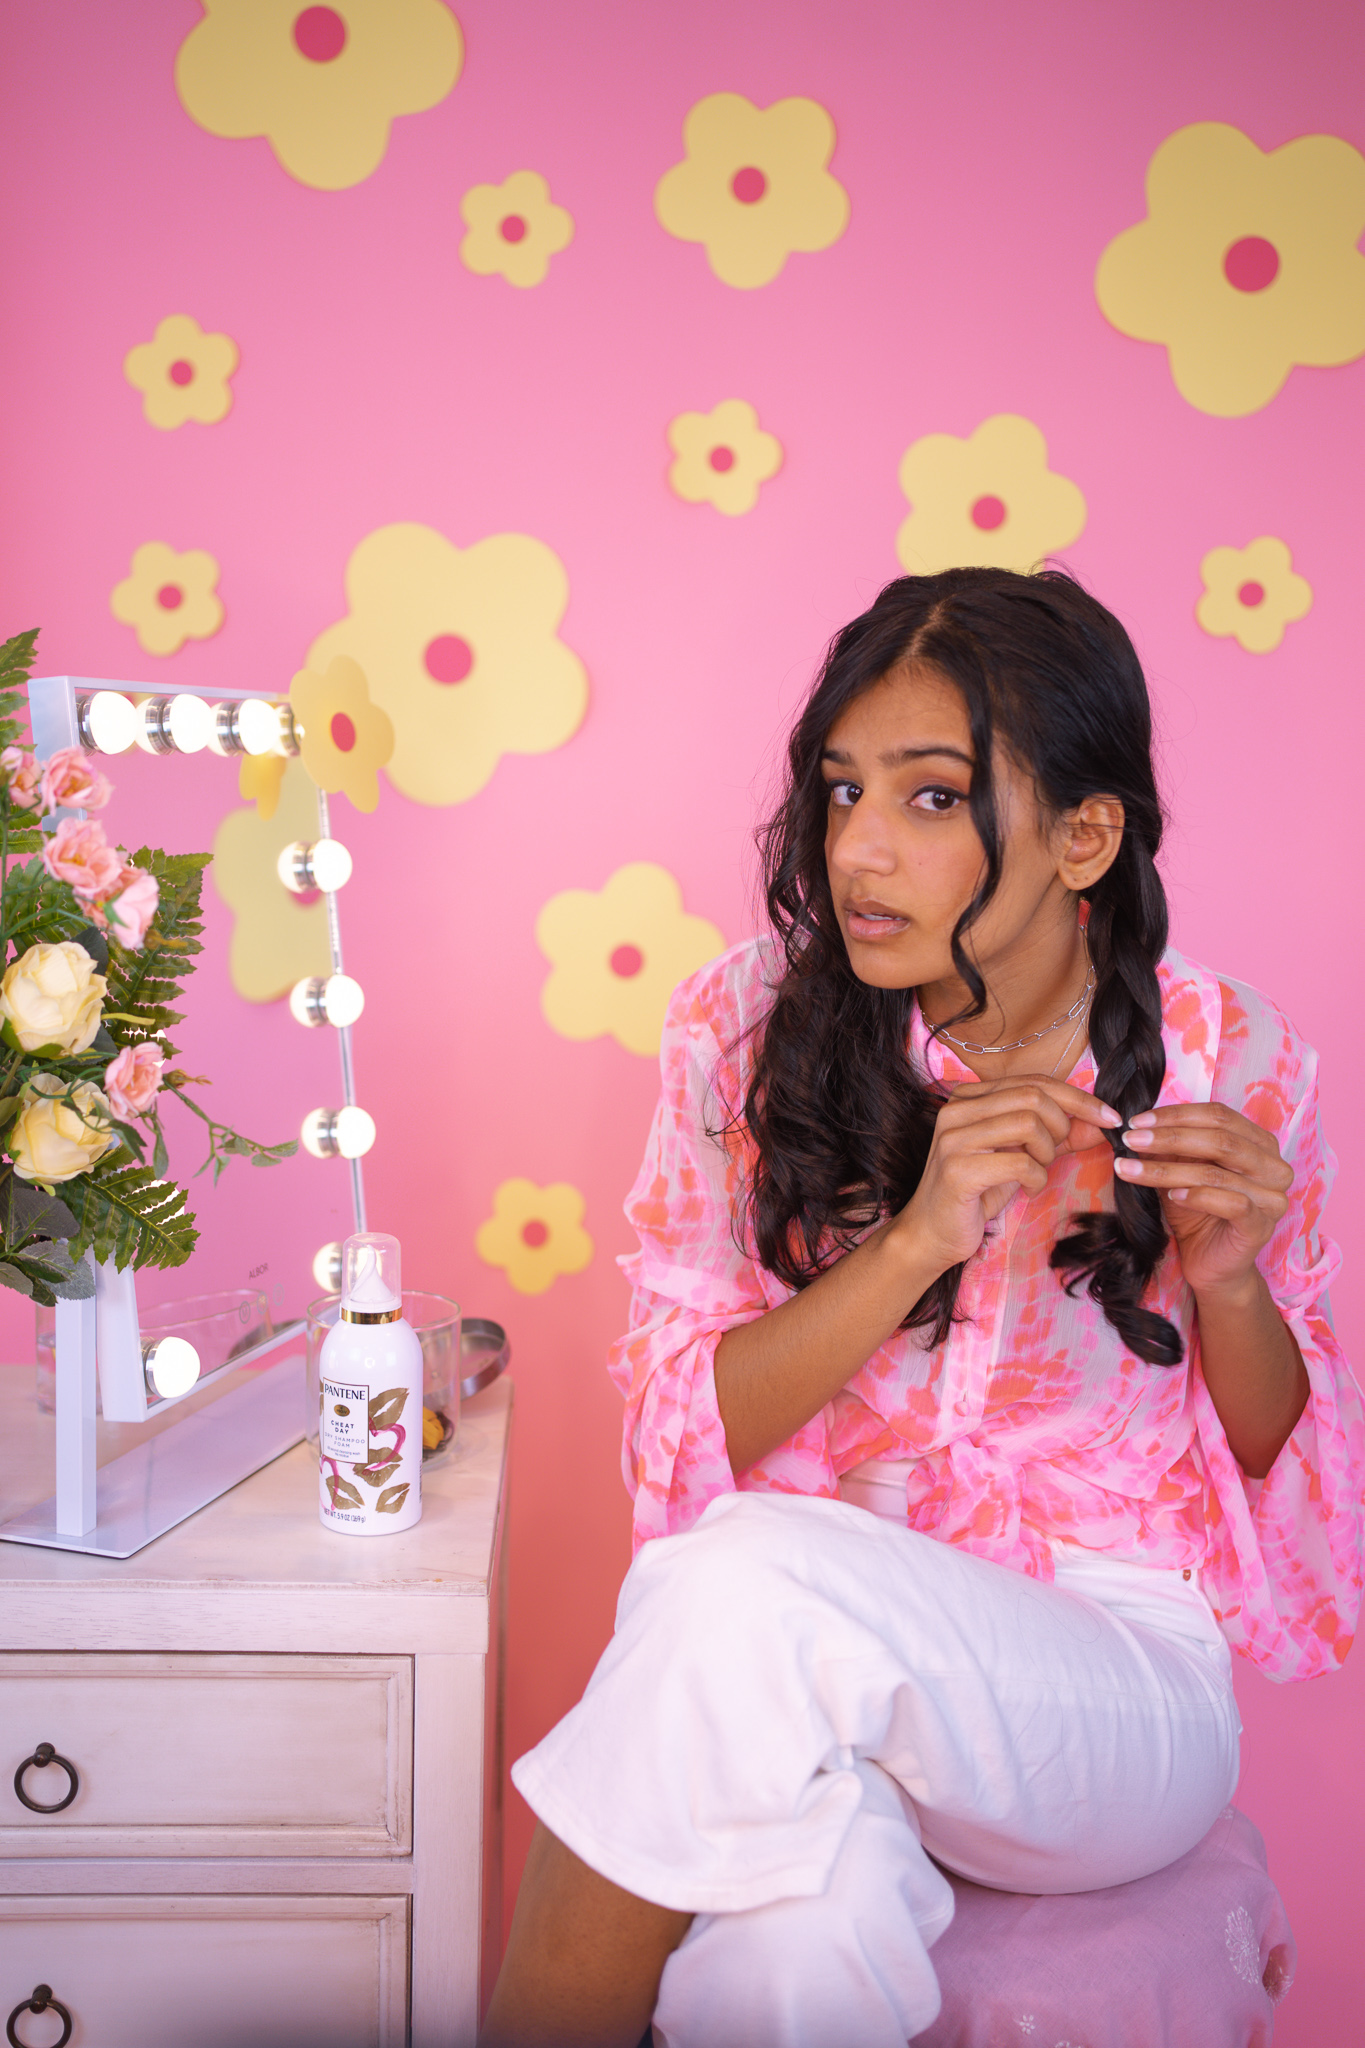
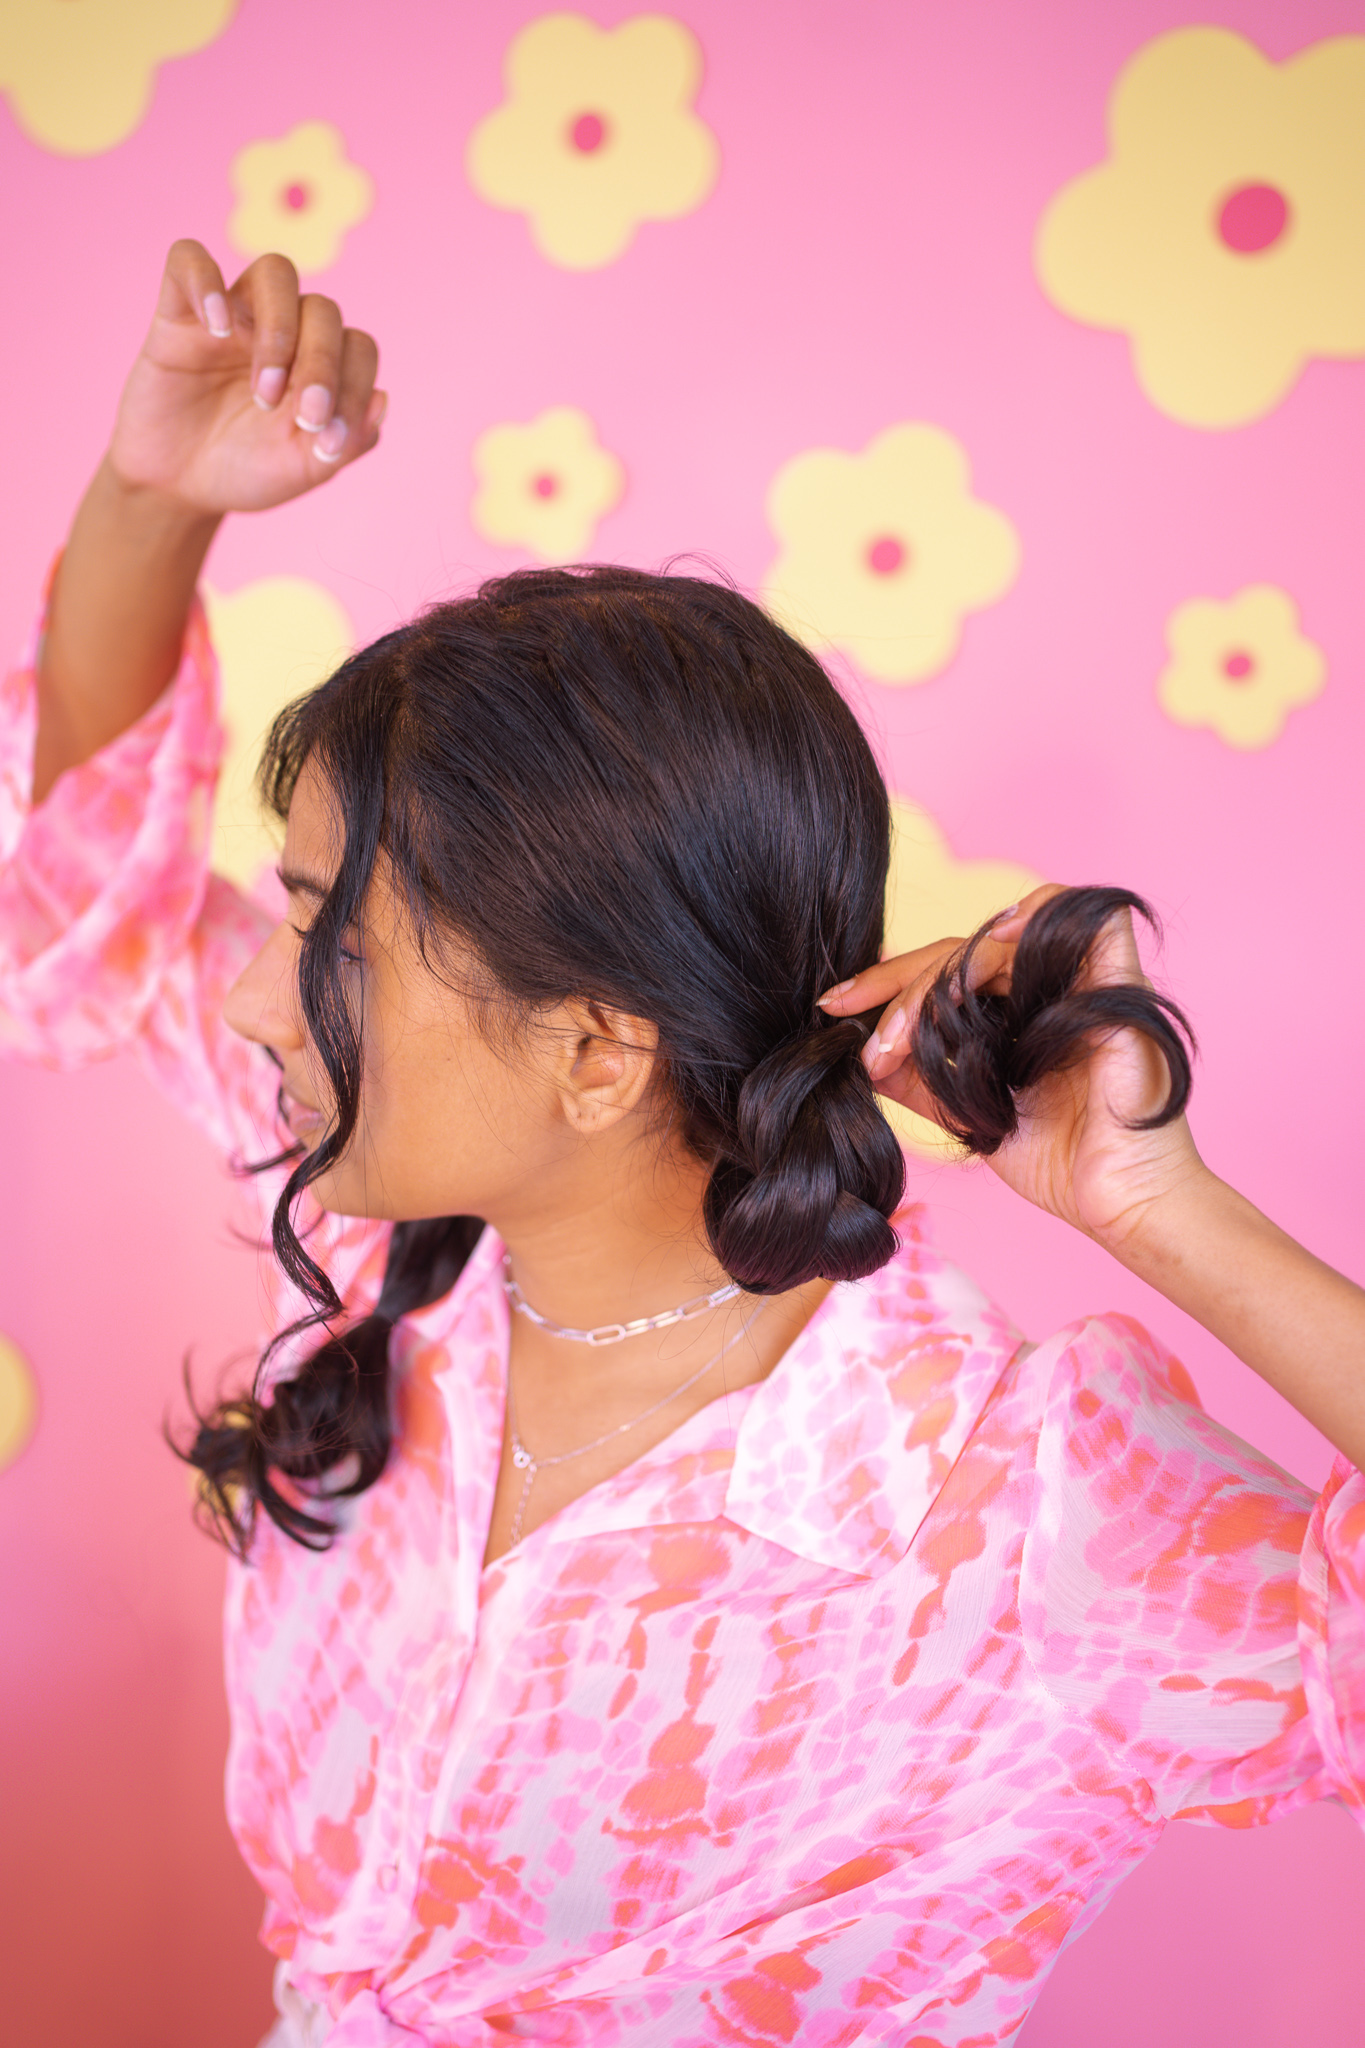
This last style came from a time when I was preparing for a wash day, so I had oil on my scalp and deep conditioner in my hair, but I needed to run to the grocery store. I ended up braiding back my hair into buns so it didn’t look dirty or greasy, and I ended up really loving how it turned out. This style hides most of your hair so it’s ideal for day three and beyond. You can also adjust it to your liking by doing a regular braid instead of a French braid, or scrapping the braid all together and just doing two cute buns. Here are the steps:
1. Section off your bangs or face framing pieces, you can clip them together if you want
2. Braid your hair on each side and tie them off with a tiny elastic
3. Wrap the braids in a circle motion until they form a little bun, then secure it with another hair elastic or a pin, depending how thick or long your hair is
That concludes my three heatless hairstyles for day three hair featuring the Pantene Waterless Collection’s Cheat Day Dry Shampoo Foam! You can purchase the Pantene Waterless Collection to help you recreate these looks in store or online at Target. I hope you guys enjoyed this blog post, let me know your thoughts in the comments below and make sure to tag me if you recreate any of these styles. I’m also always looking for new hairstyles to try between wash days, so if you have any go-to dos for that day three hair, I would love to know.
This is such a fun read! Definitely gonna try the tutorial for sure and will let you know the results! ? Also, the whole photoshoot looks like a professional model shoot and you look so pretty! ?❤️
Author
Aww this is so sweet! Thank you so much, Vaishali, that means so much to me! I would love to see when you try the styles out, I’ll look out for a DM ♥️ Love, Anjali
not me just having switched between multiple hairstyles this morning in an attempt to deal with day 3 curly hair l o l. the timing for this post was impeccable. I’ve been really trying to be able to keep my hair down after wash day, so these blog posts are everything. <3
Author
omg, that timing really is amazing!! I totally feel for you, I used to plan my whole wash schedule around shoots or events because I didn’t know what to do with my hair after day 1. Thank you so much for reading! ♥️